Posts in 2
April Music Faves
 

April, like March, was a tough cookie to tackle because of the millions of tasks that were shoved into a short time frame. But as the month came to a close, I felt relieved and accomplished after (1) having a semi-successful gig at PianoFight, (2) finishing up a huge project at work—a big chunk of it at least—and (3) presenting a successful session about making the most out of a studio apartment for my Pinterest Knit con session.


April Favorites Playlist

4.

Lots of K-pop/J-pop in this one, and a combination of my old and new favorite artists. Tom Misch recently came out with his new "Geography" album which contains fantastic songs one after the other (my favorite has to be "Lost in Paris," which I've been obsessively listening to). After doing an IU cover, I started revisiting a lot of her songs as well.


listen


Sleepless rainy night

(잠 못 드는 밤 비는 내리고)

IU

I am so in love with IU's rhythm section these days because they tend to keep things very simple but tasteful. They're really good at making space for IU when she's doing more vocally-interesting things, but they also play some super melodic fills to take up the empty space. This song is a really good demonstration of that. Also please marvel at IU's belting of that high G at 4:10.


Before Paris

Tom Misch

This intro track to Tom Misch's new album Geography (also an intro to the next song, "Lost in Paris") is so much more than just an intro track. I love the spoken part in the beginning where the musician explains that he will go out to "jam sessions regardless of whether [he's] getting paid or not", and the part where he goes on to talk about how "art is a mirror of society" and so forth. The cool guitar part following that is extremely funky and catchy and always stays in my head after I listen to this song.


Lost in Paris

Tom Misch

Now, onto the actual song after that insanely cool intro. This is probably my favorite song in the album because (A) it's really simple and catchy and (B) there are really distinct sections of the song that keep it interesting (including a rap and trumpet solo section). I really love how Tom Misch will layer complex guitar melodies under a really simple and repetitive melody that he will sing. This makes his melody sound sophisticated even though it's super singable and memorable to the listener.


Make Me complete - unchained ver.

BoA

I applaud BoA for singing a full song in English and pronouncing her lyrics really damn well. Plus, this is one of the few times where the English lyrics in a J-pop/K-pop song actually make sense. I'm sure you're aware that a lot of K-pop songs these days are littered with what Koreans think are cool-sounding English catch phrases that make no sense in the context of the song. Luckily this song didn't adhere to that. I also love the addition of the acoustic guitar that cuts through the funky groove that rest of the rhythm section is playing.


Fool for you

Snoh Aalegra


Spotify suggested this song to me on multiple weeks' worth of Discover Weekly's. So by the time this song showed up again, I was already familiar with it and already knew all the lyrics. I found it too catchy and simple not to listen it over and over again this month.


Dreamin' - live

Raelee Nikole

Loved this song ever since I listened to the original for the first time, mostly for its simple vocal + acoustic guitar paring, and also for its lyrics which I relate to so much in my life right now:

so if I'm dreaming please don't wake me up
because I feel so much better if I go to sleep
and if I'm breathing
faster than usual please
just let me be


Each day

Cyrille Aimee, Matt Simons


Because I'm going to see Cyrille Aimee in May at SFJAZZ, I've been listening to her quite a lot these days. Her live scatting is probably some of the most insane that I've heard, and her unique twist on classic jazz standards and 80s pop songs are so fun to listen to. For this song in particular, I really love the layering of vocals at 2:27. Matt starts singing first, and then Cyrille comes in a few bars later, offsetting the melody. Another highlight in the song to point out is the contrast of the electric guitar solo on top of the acoustic guitar at 2:00, which creates such a cool texture.


Something divine

Sam Ock

Boy do I love trumpets and this song is full of them. Not to mention they're perfectly in sync. Since they're not playing super high notes or super melodic passages, these trumpets lay a smooth foundation for the vocals to go on top of. Also, the lyrics to the rap part is just so. damn. good:

call it theory but I want to call it life math
call it melody but I call that my soul's path
call 'em chords and let 'em pluck the heart strings
call 'em instruments but they're with what the heart sings
the semiotics and semantics of a man's life


change ya mind

Mac Ayres

I've really started appreciating music that is simple these days. It's surprising because a while ago I was all about music that was complex and sophisticated. But after writing a few songs that were full of unnecessary complexities, and listening to musicians play complicated passages to purely demonstrate skill, I started getting a little sick of that complexity and looked to music that had fewer instruments and less note-y melodic phrases. I just find that simple music is more likely to make me feel the emotions that the song is trying to convey. This song is a really good example of a song that's super simple, but manages to convey a whole lot of emotion. The vocals paired with the muffled piano leave a lot of silence in the middle of phrases, and the simplicity really conveys the sadness and the helplnessness (?) of the lyrics.


Fly - unchained ver.

BoA

Here's another pick from BoA's Unchained album, which is basically a compilation of acoustic, jazzier versions of her existing songs. The layering of acoustic guitar sounds so damn good in this (i.e. the fills that one guitar will play at the end of some phrases). The chord changes at 1:23 are also just so tasty.


Friday (Ft. Yi-Jeong of HISTORY)

IU

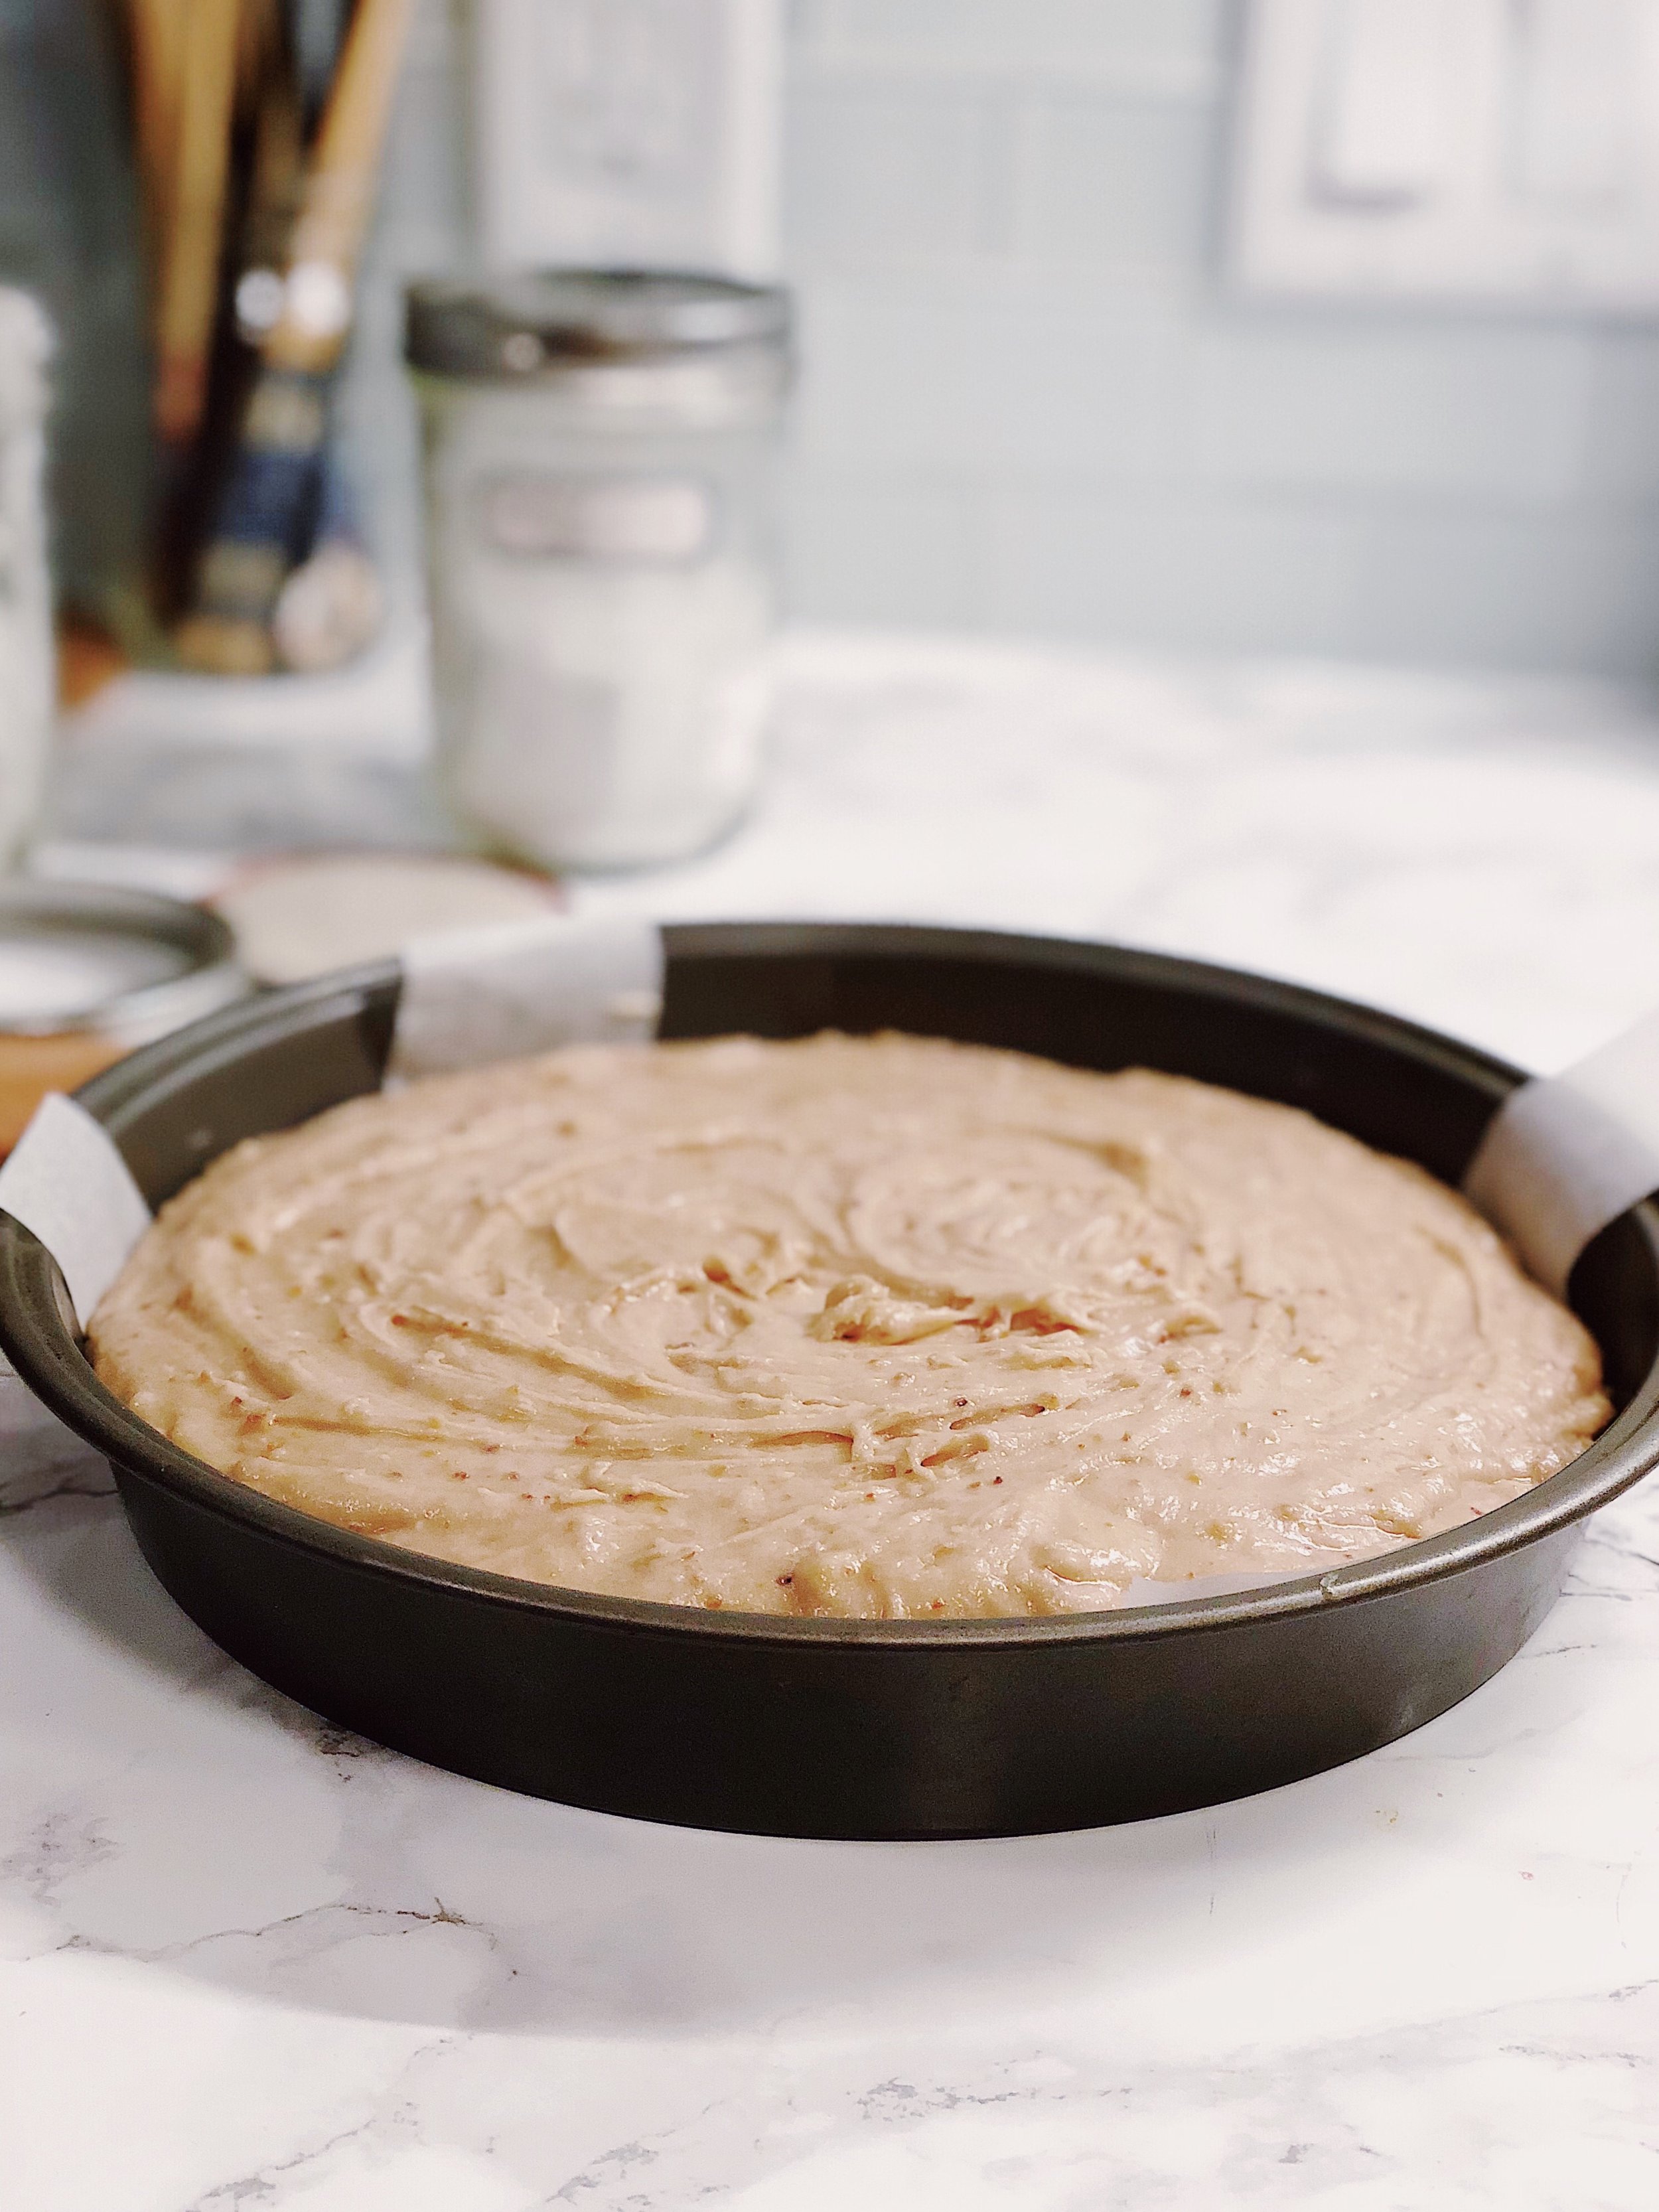
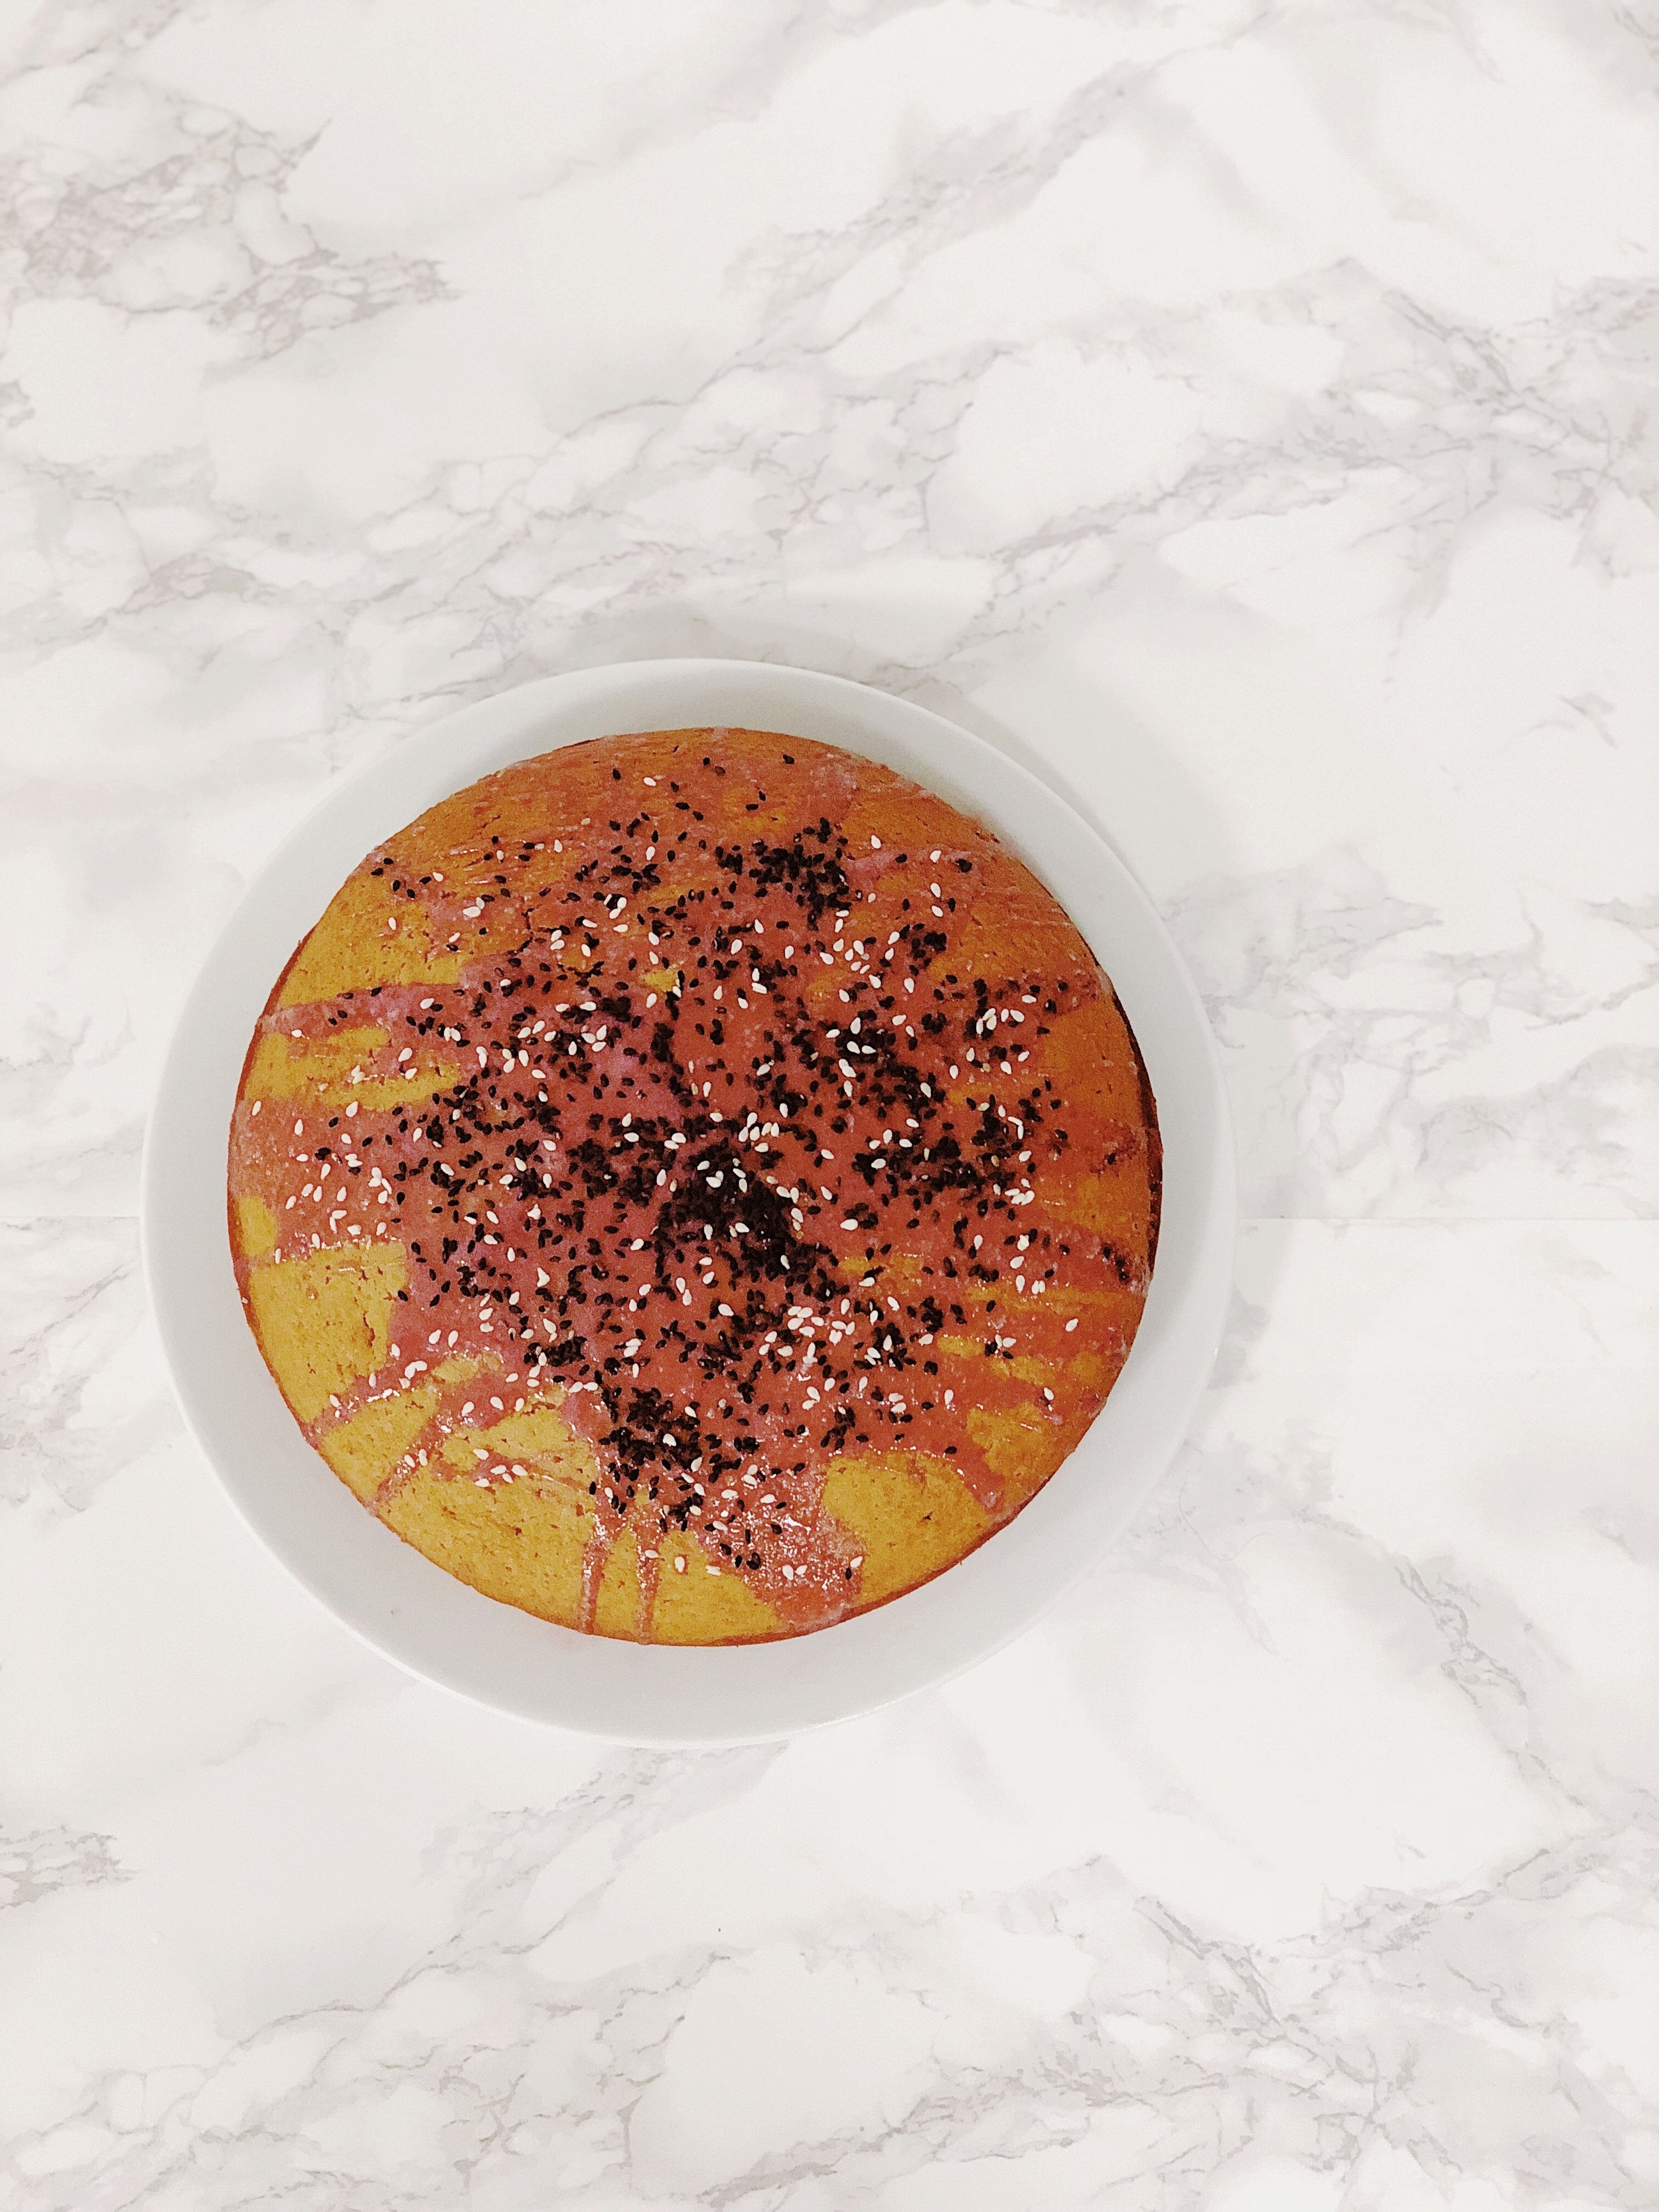
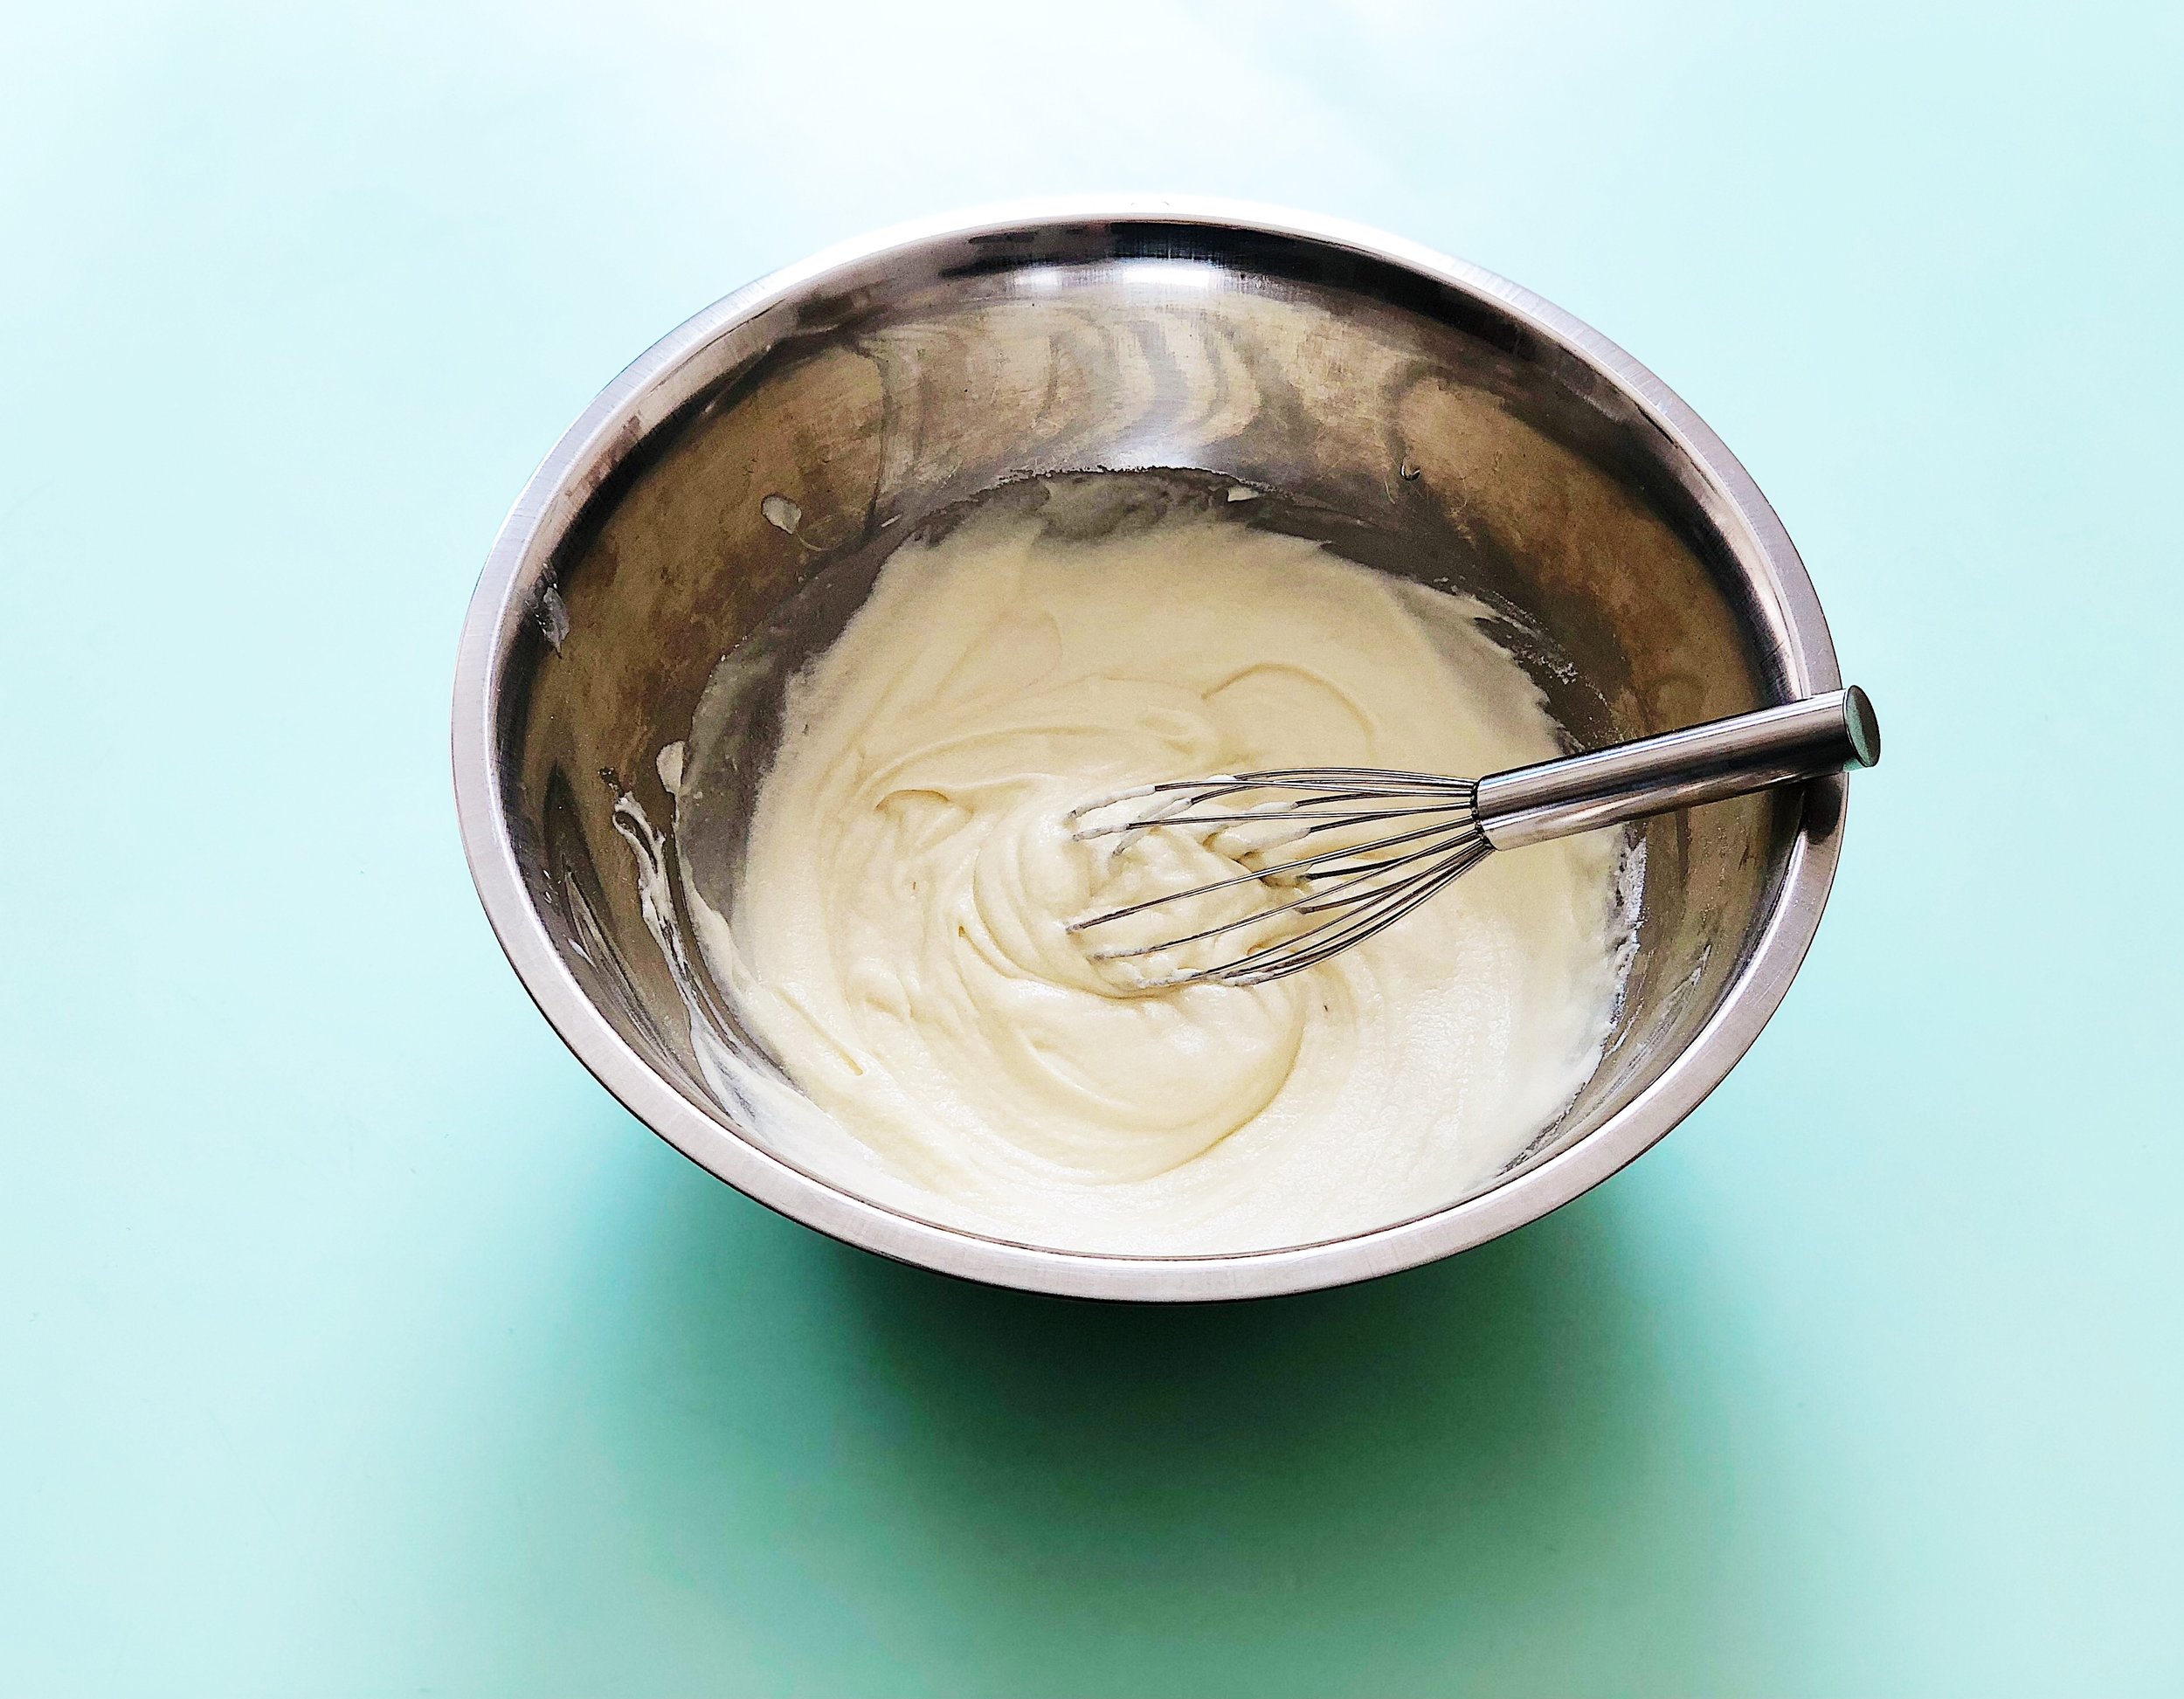
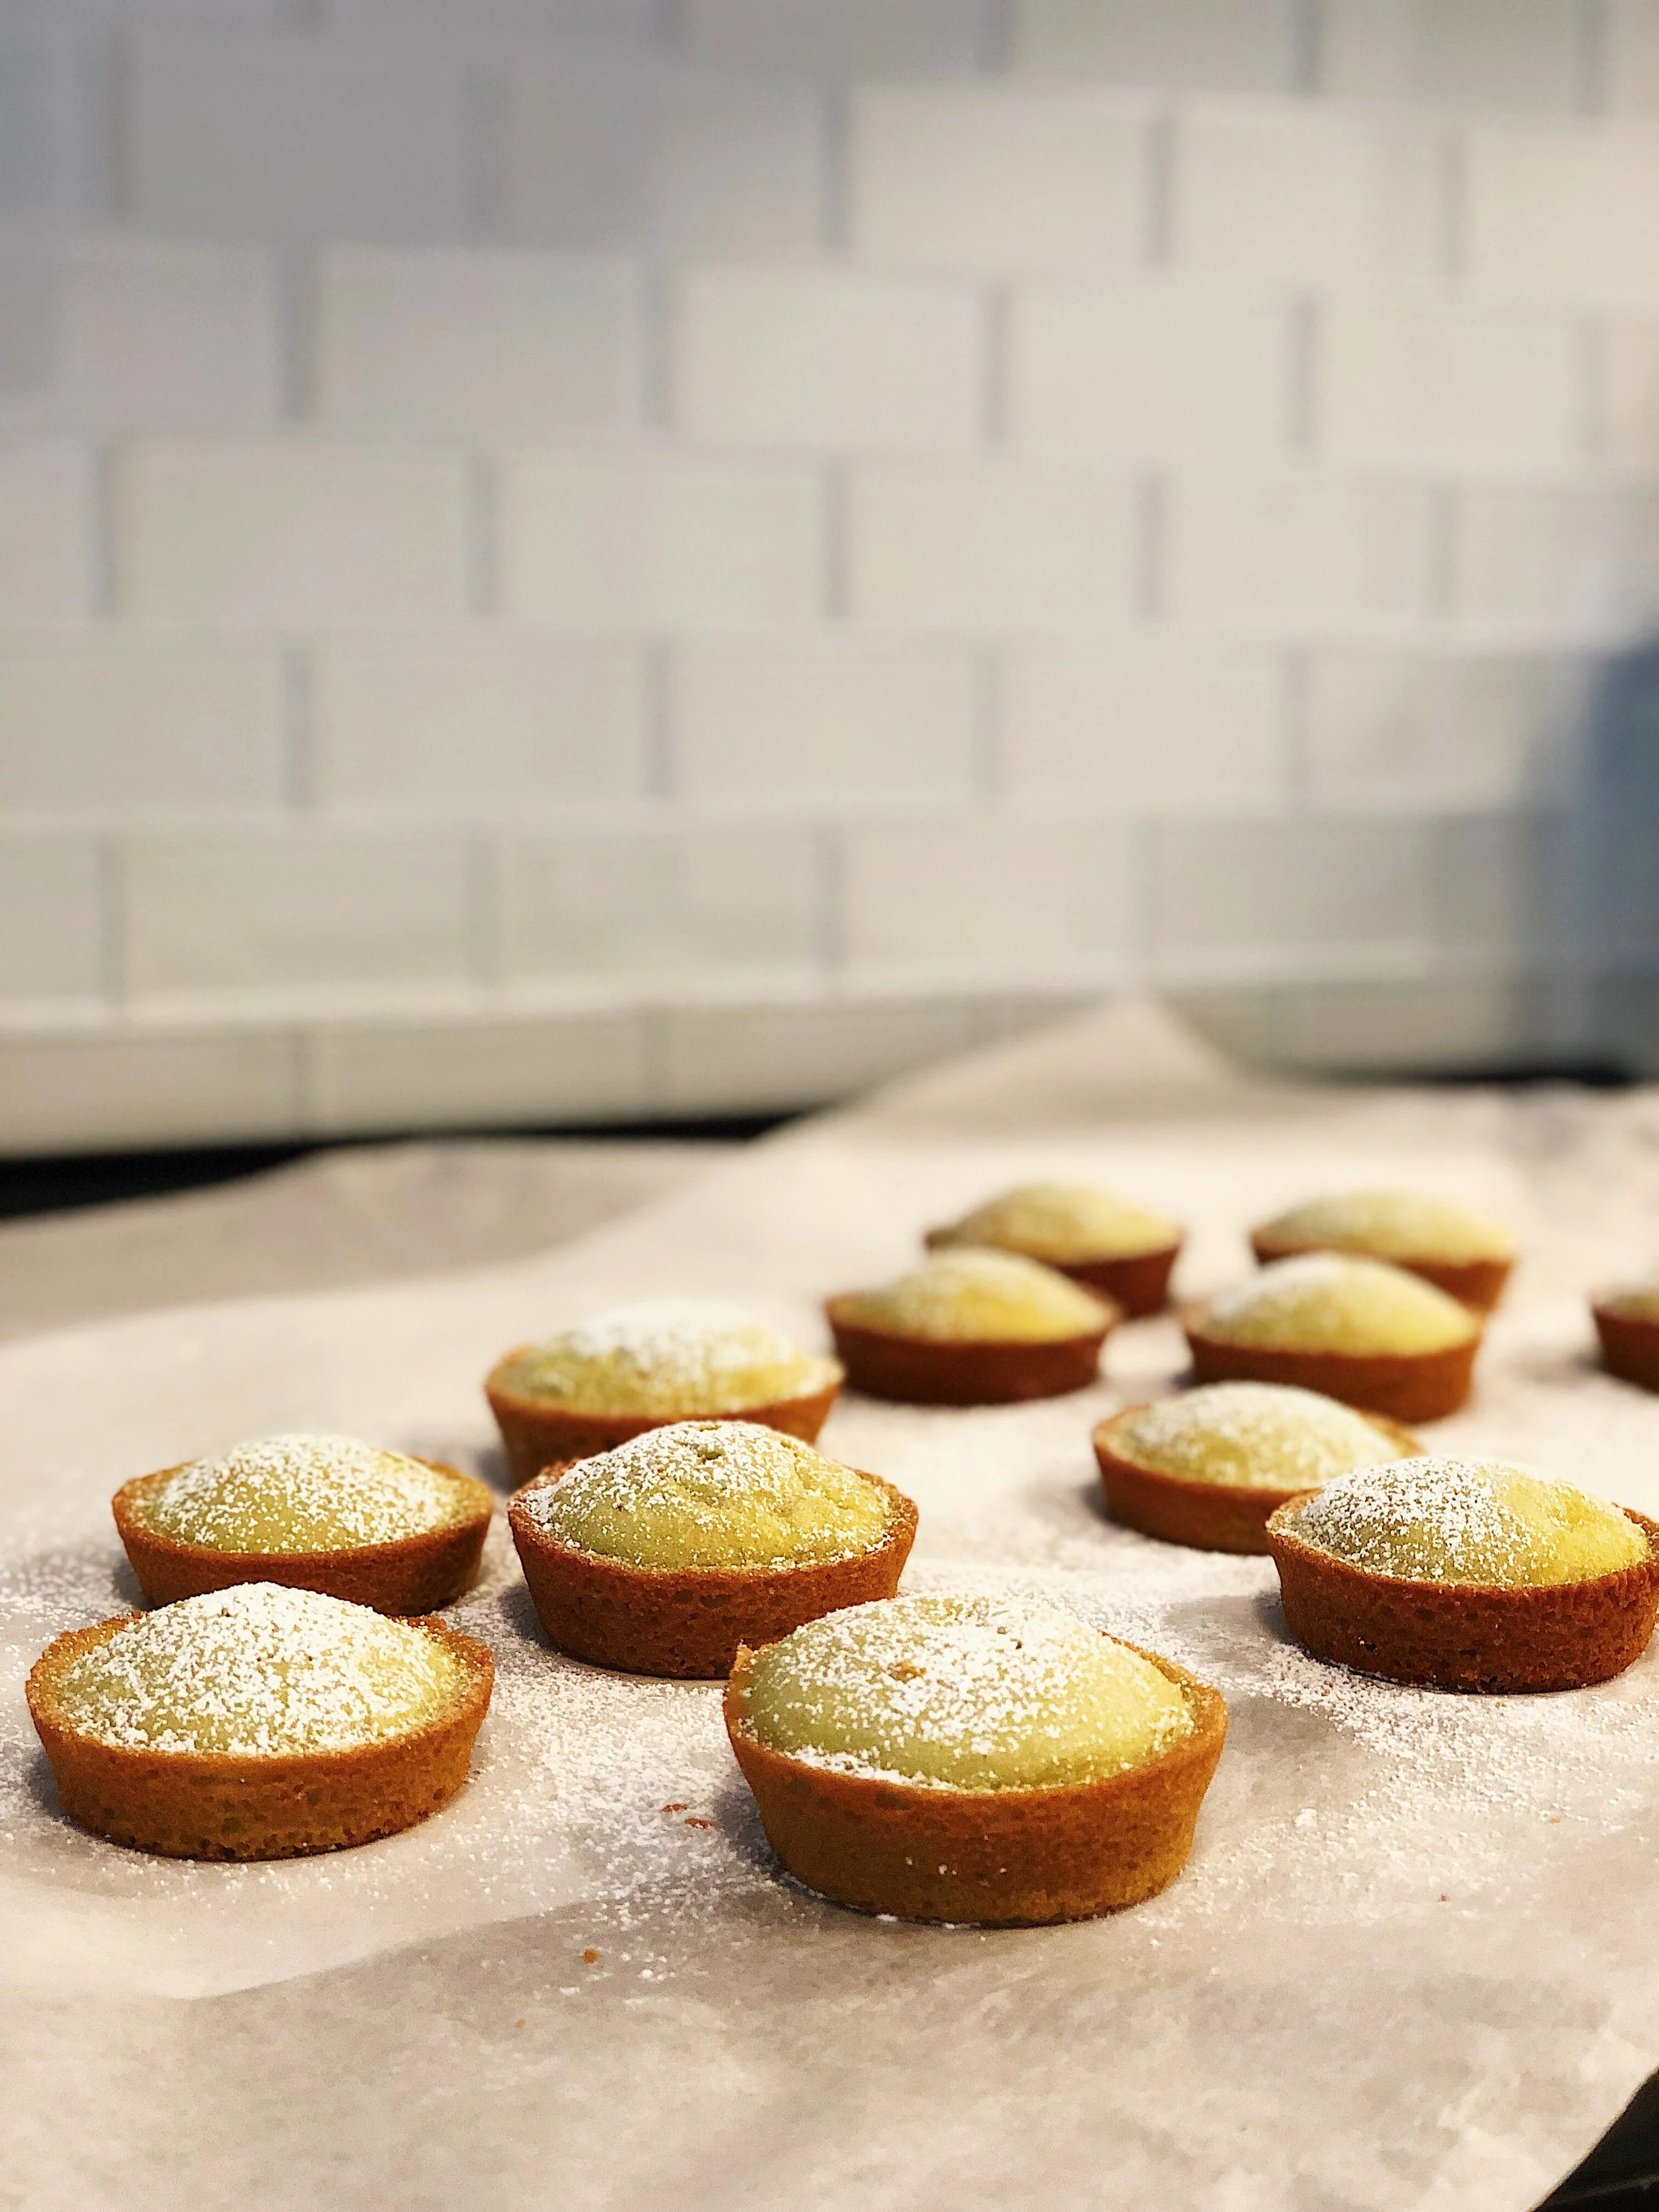
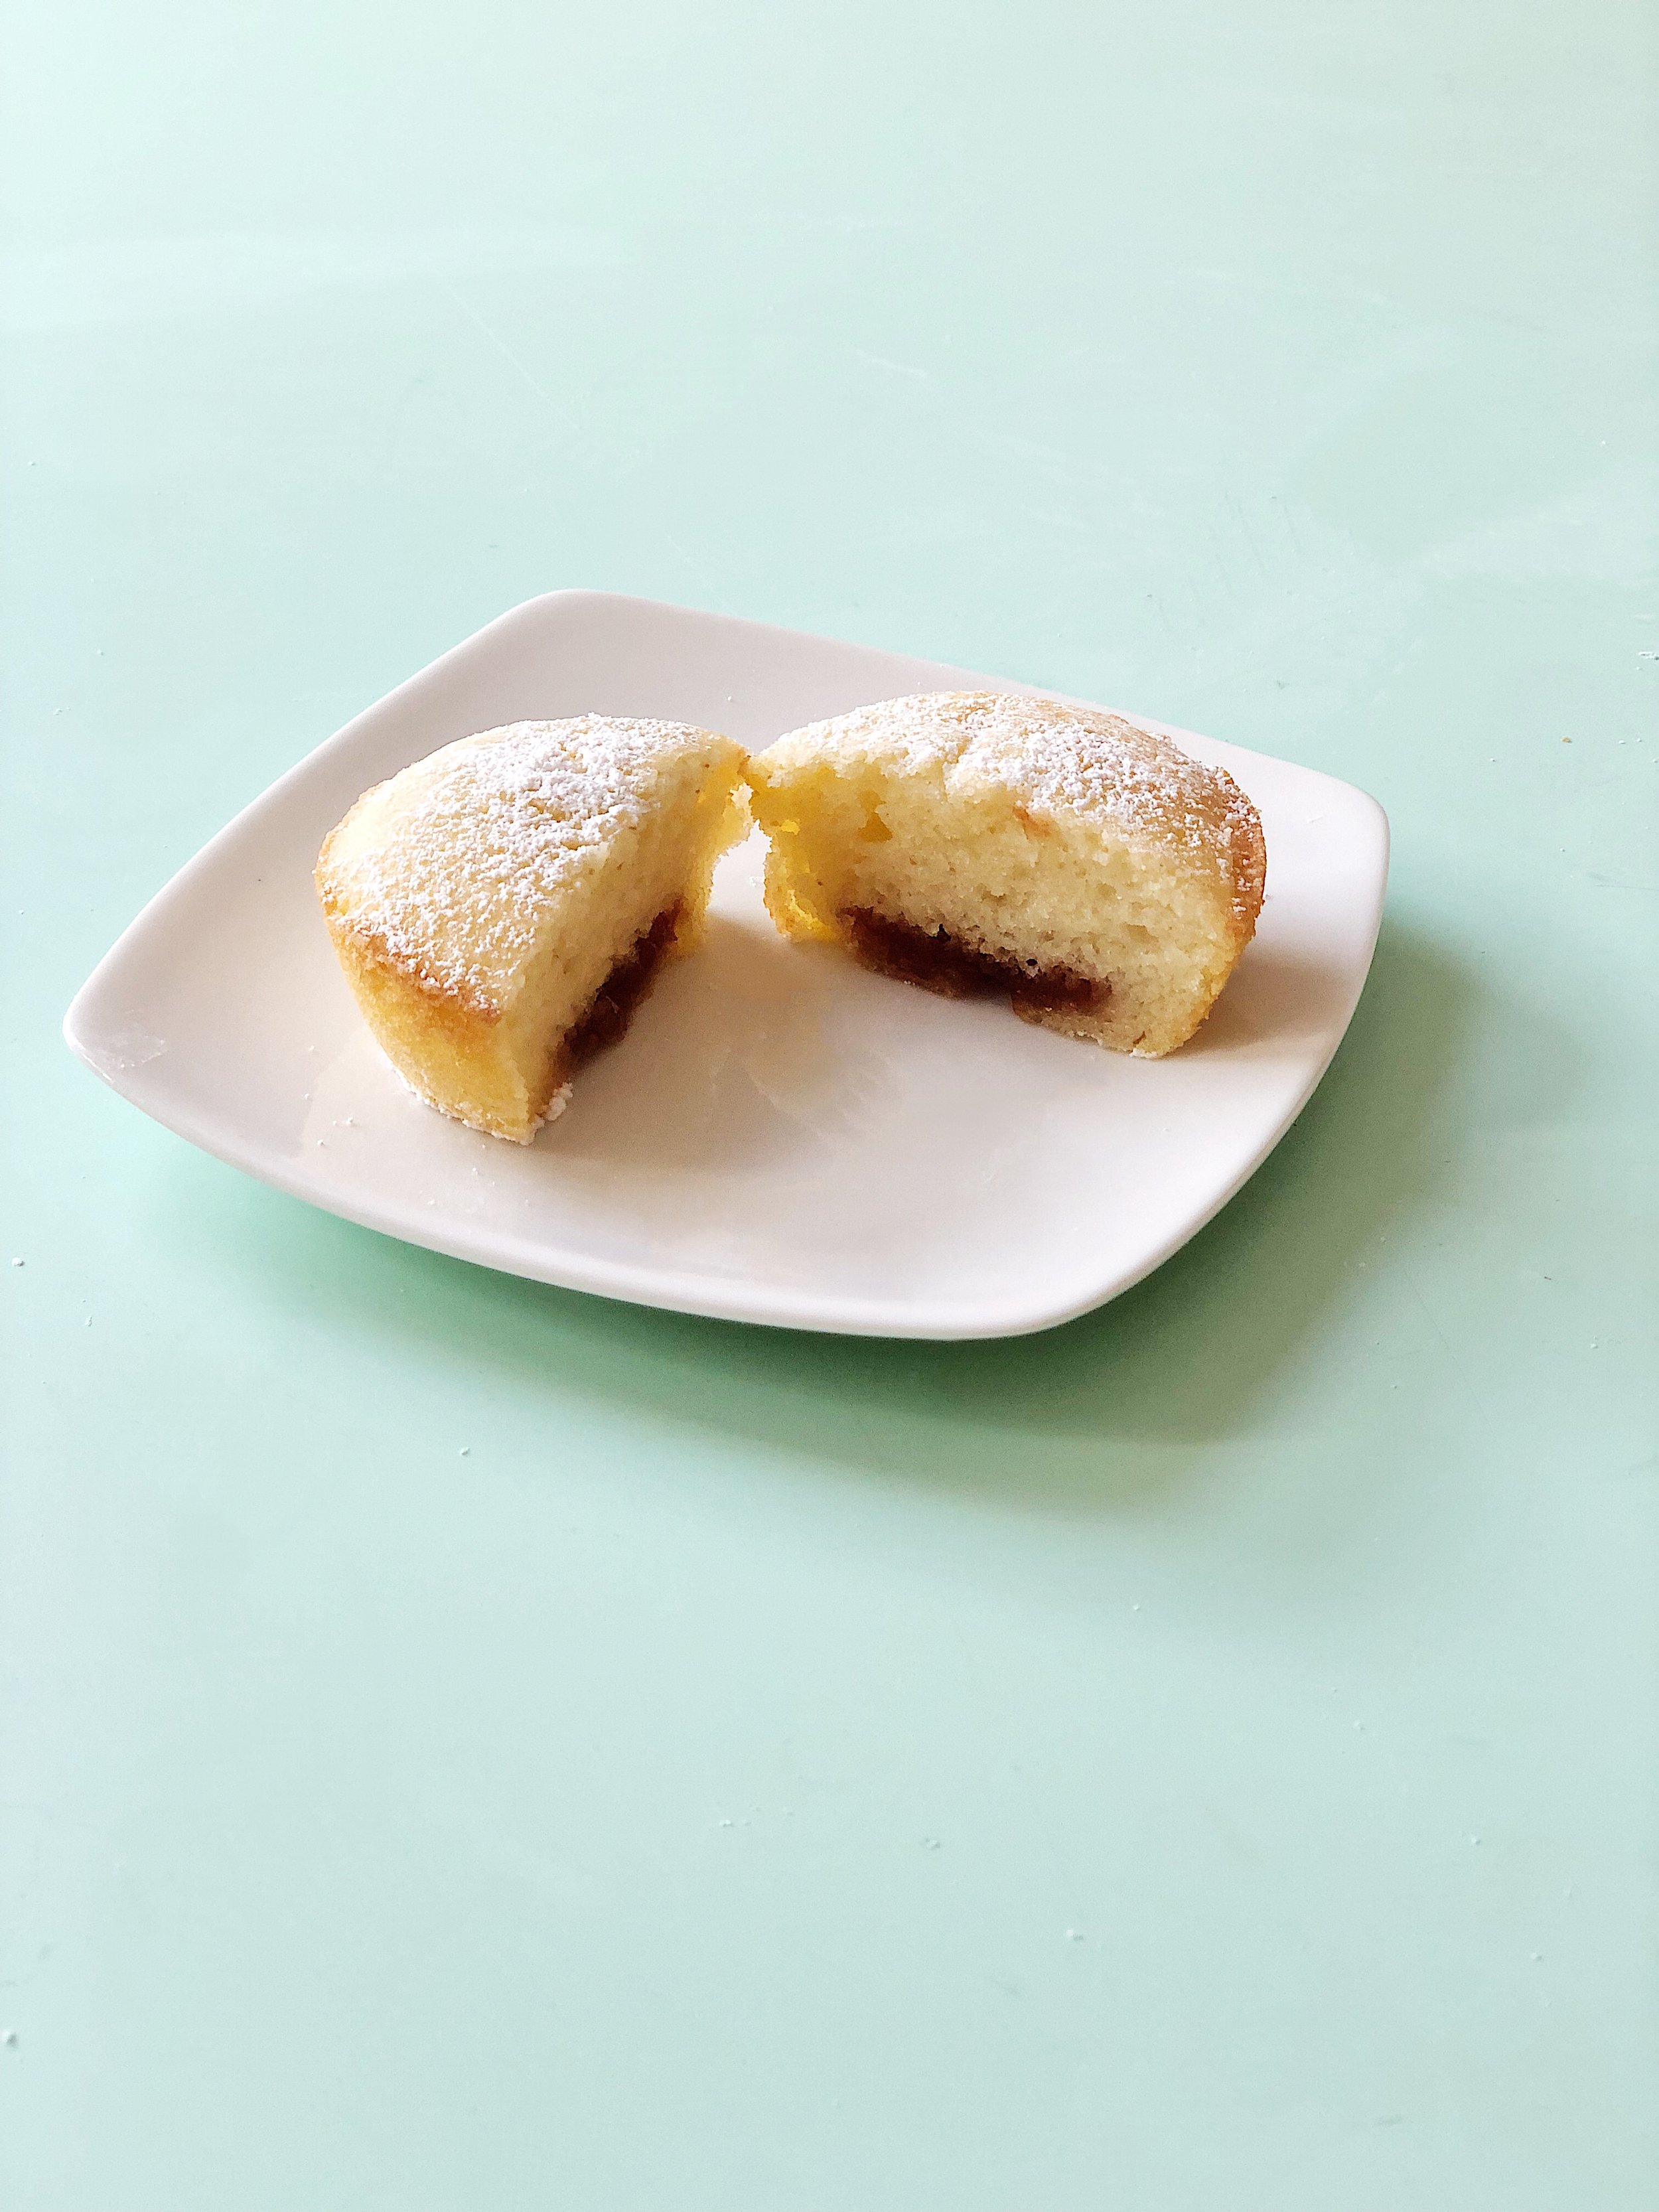
I was listening a lot to this song because my friend Anna and I decided to do a cover of it. Also because I just love IU so much. Who doesn't? Head on over to this post to listen to it, and to check out the cake that we were waiting to bake while we were making the cover!


You're on my mind

Tom Misch

This is another one of my favorites from the Geography album. I love the choice of acoustic guitar for the majority of the song, which is a little different for Tom Misch (who has a very signature sound with his electric guitar). Because the song is very simple and sparse with just vocals and acoustic guitar in the beginning, when the electric guitar comes in with its solo at 2:54, it just sounds way more dramatic and sophisticated. I also love the addition of female background vocals, which also kinda diverged a bit from Tom Misch's usual sound.


I love these artists and these songs! If you love them too, let's talk :) Also if you have more suggestions on artists or albums I should be listening to, please let ya girl know!

♥ Cindy

We made a K-pop cover and a cake in under 2 hours!

Cover of "Friday" (금요일에 만나요) - IU with Yi-Jeong of History by Anna + Cindy


Last week I got to hang out with a friend from UCSD (also from the a cappella community and a K-pop lover!), Anna, and we made a little somethin somethin for y'all listen to! Kudos to her for editing in the bloopers as well, so stayed tuned until the end for those ;) Make sure to subscribe to her YouTube channel, and to check out her Japan and Korea vlogs!

It feels so good to come back to my K-pop grind and to sing all my guilty pleasure songs again—especially because I've mostly been singing English Jazz standards in preparation for gigs lately. I actually powered through a lot of my early days of learning guitar by using K-pop guitar tutorials to learn the chords to my favorite songs. Shout out to the Caffeine Guitar channel and this video for teaching me how to play this song in particular. 

But... that's not it! We also baked an entire cake!


Blood Orange Black Sesame Cake


How badass are we for making an entire cover while before our cake finished baking? This day was really a creative and productive stay-at-home day. It feels therapeutic to create something like music or food, which is nearly not as stressful as creating code, for example.

The story behind this creative day? After posting numerous posts about my baking adventures on Instagram, I found out that Anna loved to bake and cook as well. So we decided to get together to bake this Blood Orange Black Sesame Loaf Cake, courtesy of this recipe I found on Pinterest.


I'm really loving the pink color that the blood orange juice creates for the icing of this cake. I've seen so many bakeries around San Francisco incorporate black sesame into their items these days. I recently tried the Orange Sesame Cake from Tartine Manufactory and the Black Sesame Banana Bread from Provender Coffee. After realizing that sesame gives an interesting (even savory, I would say?) flavor to balance out the sweetness of baked goods, I was eager to come back home to try it myself.


Blood Orange Black Sesame Cake


Aren't you proud of me for composing two blog posts in under two days? <rant> This is because I finally finished a big chunk of a project at work and now I'm finally spending some quality time with my hobbies rather than coding until 4AM on weekends. (I'm still typing this blog post at 2AM on a Sunday, but it somehow feels more reasonable) In other words, my job is too stress-inducing and maybe I should try to transition into a role that's better for someone who has bad anxiety issues already. </rant> Whatever. Good night y'all.

♥ Cindy


Mochi Cupcakes
Mochi Cupcakes

Follow me on Instagram @cinders_zhang for more cooking demos/recipes!


With spring here in full action, and 3284323576 of my colleagues and friends jetting off to Tokyo and posting photos of their Japanese treats on Instagram, I found myself craving mochi and matcha all the time. I was also bombarded with photos from Third Culture Bakery in Berkeley, which specializes in mochi muffins and Japanese sweets. So with cravings came curiosity, and I decided to do a little bit of research on desserts I could make with the Mochiko rice flour I had lying around.


Mochi Cupcakes - Matcha and Plain stuffed with cookie butter and jam


I attempted to recreate the mochi muffins at home—though I consider them to be "mochi cupcakes" because of how dainty and light they are. Several recipes online suggested using coconut milk instead of regular milk, and I found that the lighter, more refreshing flavor of the coconut was a great match for the heavier, more intense flavor of the matcha.

I tried a total of four different flavors. At the very top you can see the matcha mochi cupcakes with no filling. The plain ones were stuffed with passionfruit jam, guava jam, and cookie butter.


Mochi Cupcakes - stuffed with cookie butter


Prior to baking these, I happened to stop by Trader Joes and brought home a jar of cookie butter. If you haven't had cookie butter, well, what are even you doing reading this blog? You should be rushing to TJ's right this moment to buy a jar and experience your life change. Anyways, since I had an entirely new jar of cookie butter at my disposal, I couldn't help by try to incorporate it into these as well.

I purchased my guava and passionfruit jams from Nijiya Market. Before I discovered that Nijiya carried guava jam, I resorted to amazon to purchase guava paste and guava jam (which I used to make these guava pastries). Now I can simply make a trip to Japantown and find not only guava jam, but also the other exotic pineapple, passionfruit, papaya, and strawberry-guava jams by Hawaiian Sun.


Before adding the top layer of batter to cover each cupcake, I scooped a teaspoon of jam and cookie butter into each the plain mochi cupcakes. I found that the passionfruit and guava also worked really well with the faint coconut flavoring from the milk to create a tropical flavor. As for the cookie butter, well, I think we can all agree that goes with everything.


Mochi cupcakes - Matcha


Instead of going out of my way to buy actual matcha powder, I cheated once again with an instant latte mix. If you've read my previous dessert posts, you'll know I'm quite a big fan of instant coffee and latte mixes and find them to be an easy but creative addition to a lot of different baked goods (you can see how I incorporated a cafe latte mix into my chocolate cheesecake cupcakes). I added a total of 2 small packets of instant matcha to my batter and I found it to be a bit less scary than adding raw matcha due to its strong flavor and coarse texture that may easily overwhelm the cupcakes.


Mochi Cupcakes - Matcha


The matcha flavored cupcakes had a nice, subtle green tint to them when they came out of the oven. To add a little more pizzaz to them, I dusted powdered sugar on top. The color scheme reminds me a little bit of Christmas. In fact, I'm sure you could just add a raspberry or strawberry on top to make these work for the holiday season. I know, I know, we still have a long ways to go till Christmas—but I'm letting you know in advance just in case.


Unfortunately, I ran out of cupcake liners and had to add the batter directly to the cupcake pan—so a few of plain ones turned out a bit flatter and more golden on the sides than the ones at the start of this post. But no worries—just remember to spray your cupcake pan with cooking spray before you add your batter. Also remember to wait for your cupcakes to chill before you flip them out of the pan. Difficult, I know, especially because these smell so damn good when they first come out of the oven. The cookie butter ones were the most popular amongst my family and friends, whom I ended up gifting these to.


Mochi Cupcakes - Cookie Butter


Mochi Cupcakes


Ingredients

Plain Mochi cake:

  • 3 cups Mochiko Rice Flour
  • 1 1/4 cups sugar
  • 3 cups coconut milk (can replace with regular milk)
  • 3 eggs
  • 1/2 cup butter
  • 1 tsp vanilla extract (optional)
  • Powdered sugar (optional)

Fillings:

  • 2 packets of matcha (optional)
  • Passionfruit jam (optional)
  • Gava jam (optional)
  • Passionfruit jam (optional)

Takes , Makes 12 for a standard cupcake pan.


Instructions

  1. Pre-heat the oven to 350˚F (148˚C).

  2. Line a standard cupcake/muffin pan with baking cups. If you're adding the batter directly to the pan without the baking cups, make sure to grease your pan with cooking spray or butter so the cakes come out easily after baking.

  3. Combine all the wet ingredients (sugar, coconut milk, eggs, butter, and vanilla extract) together. Slowly add the Mochiko rice flour and mix until fully combined

  4. (Option 1) If you're making a batch that are matcha flavored, add in the two packets of the instant matcha latte mix and mix well.

  5. (Or, option 2) If you're planning to add fillings, fill up the muffin 1/2 of the way with the batter. Add 1-2 tsp of jam or cookie butter to each cup, then add more batter to cover the filling, until each is filled 3/4 of the way.

  6. Bake for 30 minutes, or until a toothpick comes out clean.
  7.  
  8. Do note that they are very delicate when they first come out of the oven, so wait until they're cool before taking them out of the muffin tin. Finish by dusting with powdered sugar.


Recipe adapted from Sugar and Cloth


For more cooking:


Sorry about my inactiveness this month on the blog! Work being a hot mess and practicing for various gigs has got me sleeping at around 2-3AM every night. So finding time to compose posts like this is quite the challenge. Hopefully May will be a better month :)

♥ Cindy

 
Food, 2Cindy Zhang Comment
Simple Chinese Cold Noodles


This recipe was originally inspired by what my mom used to make for me and my brother on hot summer weekends. This is the perfect dish to make when you're short on time, and don't have too many ingredients in the fridge—which is why I adopted this recipe as a college student, and even now, as a working adult. I don't know if this is true for all Chinese families, but my family in particular likes to make complicated lunches, but keep dinners very simple. We'll usually have rice and several dishes for lunch and then have dumplings or noodles for dinner. For weekend dinners, my mom literally tosses this up in 10-15 minutes. As for me—well, I still have a long ways to go to get to her level.


Simple Chinese Cold Noodles


This later transitioned from a family dinner item to an item I would always bring with me to school for lunch. You may consider this a risky option, based on what other kids might think. After all, I went to a high school located in Scripps Ranch, which is a neighborhood that's 70% white. Luckily for lunch I always either hung out in the band room or in my math teacher's classroom with the friends I met in Japanese class. They did not make fun of my lunch. In fact, they usually ended up eating half of whatever I brought.

Maybe half is exaggerating, but they did really enjoy it. I ended up making this for my friends whenever we hung out after school because it was just so simple. Making this once again for the blog made me feel really nostalgic. I realized just how much I missed hanging out with my high school friends in San Diego... and spending relaxing summer nights with my family without having to worry about the stress of work the next day.


The noodles are tossed in a simple "dressing" made with soy sauce, chili oil, sesame oil, and—if you're feeling fancy—a little bit of peanut butter. I like to microwave the soy sauce for around 20 seconds before adding the peanut butter. This helps the peanut butter dissolve and mix well with the rest of sauce.

As for the chili oil, I was actually lucky enough to use one that my dad made from scratch. He fries dried red peppers, Sichuan peppercorns, star anise, and bayleaves together with vegetable oil, and then drains out all the other ingredients until only the oil is left. This chili oil can then be used for all sorts of dishes—mapo tofu, as a dipping sauce for dumplings, noodles, soups, and more.


The toppings can be anything you have in the fridge, really—but my mom and I usually top the noodles off with a spicy stir fry made with ground pork as the main ingredient. Usually if I want to be healthy—or if I want to make this dish vegetarian—I will chop up some oyster mushrooms and stir fry it with tofu instead. Get creative and make the most out of whatever you have left in the fridge. Day after Thanksgiving? Use your leftover Turkey! I would just advise to cut up whatever ingredients you decide to use into small pieces so that they can evenly distribute in the noodles once you mix them in.


Simple Chinese Cold Noodles


And that's basically it! If you want to create a "noodle bar" of some sort, you can skip the step of adding the toppings directly to the noodles. If you want to make everything vegetarian friendly, and let your guests decide what they want to top the noodles off with, just give everyone a bowl of noodles and let them decide what to add. You can also chop up some cucumbers and lay out some cilantro for your guests if they'd like to garnish. Chopped peanuts are good options too!


Simple Chinese Cold Noodles


Does the above photo look a little naked (or "nood") to you? See what I did there? :-) It's because it's missing an egg, of course! Honestly, I've never met someone who, when asked, "do you want this dish topped off with an egg?" (free of charge), responded with "no thank you". Also, noodles and eggs go together like peanut butter and jelly. If ramen can have a soft boiled egg, and bibim naengmyun can have a hard boiled egg, then these Chinese cold noodles can have a sunny-side-up egg as well. In fact, it doesn't even have to be sunny-side-up. Top this off with a poached egg to take it out of Chinatown and make it restaurant quality.


Simple Chinese Cold Noodles


Simple Chinese Cold Noodles

Ingredients


  • 500g egg noodles or soba noodles
  • 1 egg (optional)
  • Sesame Seeds for garnish
  • The stir fry on top:

  • 1 lb (around 450g) ground pork or ground beef
  • 1 tbsp cornstarch
  • 1 tbsp oyster sauce
  • 1 tbsp soy sauce
  • 1 tsp Chinese black vinegar
  • 1 slice of baked tofu
  • Scallions
  • Sauce for the noodles:

  • 2/3 cup light soy sauce
  • 1/4 cup Sichuan chili oil
  • 1 tbsp sesame oil
  • 2 tbsp peanut butter
  • 1 egg

Takes , Makes 4 bowls.

Instructions

  1. Bring a pot of water to a boil and add in the noodles. Cook until the noodles are al dente (cooking time might differ based on the type of noodle used)

  2. Strain the noodles and run them under cold water while they are still in the strainer. The cold water will stop the cooking process and make sure that the noodles stay al dente and do not become soggy. Place the noodles in the fridge to chill while you make the sauce and toppings

  3. For the stir fry topping, combine the ground pork with the oyster sauce, soy sauce, vinegar, and cornstarch (adding corn starch to the meat will make the stir fry gooey and create a sauce underneath, which is perfect for topping off the noodles). Set aside to marinate

  4. Heat oil in a frying pan and add the meat when the pan becomes hot. Stir fry until the meat is cooked and a gooey sauce has formed underneath. Add more water mixed with cornstarch if you want the stir fry to produce a thicker sauce. Add the chopped baked tofu and scallions and stir fry until everything is well combined and cooked through

  5. To make the dressing for the noodles, first heat up the soy sauce for 20 seconds in the microwave. After it's heated, allow the peanut butter to dissolve in the soy sauce. Mix in the chili oil and sesame oil. Top off with sesame seeds and chopped scallions if desired
  6.  
  7. Take the chilled noodles out of the fridge and add the sauce. Toss the noodles in the sauce and make sure it's well combined

  8. Fill a bowl with 1/4 of the noodles and top it off with the stir fry. Add a sunny-side-up egg and garnish with sesame seeds and leftover scallions

 
Simple Chinese Cold Noodles


If you're a bit weirded out by the peanut butter in the sauce, I want to point out that the chili oil + peanut butter combination makes these noodles reminiscent of dan dan mian. Feel free to replace the peanut butter with sesame paste as well if you don't like the idea of Jif being in your noodles.

Shout out to my mom for giving me the inspiration to steal one of her dishes and taking my own spin on it. And shout out to my high school friends whom I miss so so much. I'll make this again for y'all someday :')

♥ Cindy

 
Food, 2Cindy ZhangComment
The Eggie "Miss Honey" Dress
Eggie Miss Honey Dress.jpg


I was super stoked when one of my favorite YouTubers and Style influencers, Jenn Im, launched her own line of clothing called Eggie last year. It's so exciting to see an Asian woman like myself become a style icon on YouTube, especially considering Asians are still a rare sight to see in media (we are showing up more and more these days though!). I was also ecstatic to be able to purchase items of clothing on the Eggie website knowing exactly how they'll look on me since they weren't photographed on a 5'10" model. 


This dress in particular is from Eggie's 2017 Holiday collection. There were so many dresses in this collection that I fell in love with but I felt that this one was the most stunning. It's named the "Miss Honey" dress after the super sweet and nurturing teacher from Matilda. 


Eggie Miss Honey Dress


Apparel: Checkered Dress (Eggie, "Miss Honey Dress") | Sheer black top (Styleaddict, "Sabrina Top") | Black suede Mary Jane Pumps (Sigerson Morrison, "Kairos Heel") | Black backpack (Everlane, "The Modern Zip Backpack - Large"


The Eggie Miss Honey Dress, Shoes: Sigerson Morrison


After walking around the Mission District for a while, Evelyn and I saw a man trimming flowers from his tree. He offered us a few branches of the yellow flowers—Acasia flowers I think they were called—which worked to brighten up a monochromatic outfit filled with grays and blacks.


Dress: Eggie, Sheer top: STYLEADDICT, Mary Jane heels: Sigerson Morrison, Backpack: Everlane


Several dresses from Eggie's holiday collection caught my eye, but I decided to purchase the Miss Honey dress mostly for its versatility. This dress is completely work appropriate yet has the potential for a night out or special event, depending on how you style it. If you want to show a little leg, you can undo some buttons on the side of the dress. If you're looking for a little more warmth, this is a great dress to layer on top of a tight turtleneck.


Dress: Eggie, Sheer top: STYLEADDICT, Mary Jane heels: Sigerson Morrison, Backpack: Everlane


Underneath the dress, I opted for a sheer black top with a simple pattern to play up the texture of the outfit—dressing it up but still keeping warm (I'm kidding about the warm part, to be honest). Also, can we give this dress extra brownie points simply for its pockets? For a girl who's always reaching for her phone, pockets are a great practical addition to any article of clothing.


Dress: Eggie, Sheer top: STYLEADDICT, Mary Jane heels: Sigerson Morrison, Backpack: Everlane


Accessories: Rings (Forever 21)  | Black backpack (Everlane, "The Modern Zip Backpack - Large"

Rings - Forever 21
 

A big thank you to Pinterest for the lovely backpack, as well as the colorful alley a few blocks away from Valencia Street in the Mission for acting as a beautiful backdrop for this photoshoot. Oh, and the nice man who gave us the flowers :)


Dress: Eggie, Sheer top: STYLEADDICT, Mary Jane heels: Sigerson Morrison, Backpack: Everlane
The Eggie Miss Honey Dress
Mission District
 

Don't hesitate to hit that Pin button if you liked the outfit :-) Feel free to follow this board for my style-related posts, or if you're feeling more adventurous, you can just follow me entirely on Pinterest.

Photos: Evelyn Obamos

♥ Cindy


Fashion, 2Cindy Zhang Comment
(Super Easy!) Guava Pastries
Guava Pastries


These Cuban pastries were actually inspired by a visit to Saltroot Café (thanks to my friends Ren and Greg for the delicious recommendation!). Saltroot Café is a small, hole in the wall bakery in Outer Richmond serving guava-filled Brazilian Cheese Breads—also known as Pão de queijo in Portuguese. It was my first time having guava in a dessert, and to my surprise it was such a delicious compliment to the cheese inside the bread that I immediately wanted to get up and buy a few more. Unfortunately it was such a popular flavor that the bakery had sold out for the day (it was only 12:00PM at this point). Ever since then, I've been crazily craving guava, which is definitely a unique craving...


Guava Pastries
Guava Pastries


To my sadness, guava-filled desserts are not very common in San Francisco, so Plan B was to try to get my hands on some guava jam and to make my own. After searching a plethora of grocery stores—Safeway, Trader Joes, World Market, even the wallet-abusing Whole Foods, I wasn't able to find guava jam or guava paste anywhere. So I had to resort to good-old Amazon to purchase this can of guava paste (which looks very foreign and like it doesn't belong on any counter of any American grocery store).

The Brazilian Cheese Breads turned out to be quite difficult to master, so I opted for an easier option: Guava Pastries (also known as Pastelitos de Guayaba in Spanish), which luckily required only 5 ingredients: store-brought puff-pastry, cream cheese, guava paste, sugar, and egg.


Guava Pastries


I incorporated a tiny bit of sugar into my cream cheese to sweeten the mixture a little—but beware that guava-flavored jams/jellies are also very sweet themselves, so make sure to leave the work of sweetening the pastry to them and not the cream cheese.


Guava Pastries
Guava Pastries
Guava Pastries


Cut up each sheet of puff pastry into 9 pieces and spread some cream cheese and some chopped guava paste on the bottom layer. Brush an egg around the corners to seal the top layer, and then make slits to ensure that pastry has a nice puff. Finish off with a nice layer of egg wash.


Guava Pastries


I like to add a bit of a pattern around the edges with a fork and to ensure that they're completely sealed. Then pop those in a 400˚F (200˚C) oven for 20-25 minutes until golden brown and enjoy! -Staples Easy Button Voice- That was easy, right?


Guava Pastries
Guava Pastries


Super Easy Guava Pastries

Ingredients

  • 2 sheets of puff pastry, frozen *
  • 7 oz (around 200 g) of guava paste **
  • 1 egg
  • 2 tsp sugar
  • 7 oz (around 200 g) of cream cheese

Takes , Makes 9.

* I used store-brought, since watching how pastry is made/judged on the Great British Baking Show has frightened me too much to even bother
** I used a little less than a regular-size box


Instructions

  1. Pre-heat the oven to 400˚F (200˚C).

  2. Take out the puff pastry out of the freezer. It's important that the puff pastry stays cold, since the colder it is, the more it will puff up in the oven.

  3. Slice both sheets of the frozen puff pastry into 9 equal squares. I found that doing this while the pastry is still cold was easier and made for more even pieces. Roll out each of the squares into larger squares.

  4. Thoroughly mix the sugar into the cream cheese with either a hand mixer—or if you want more of a bicep workout, you can just use a regular whisk like me. :)
  5.  
  6. Slice up the guava paste into small pieces (Mine were around 1'"x 1/2" and half a cm in thickness). Then spread a small amount of cream cheese in the center of each bottom layer square of the puff pastry. Top with two pieces of guava paste.

  7. Beat an egg and brush the outside edges of each bottom layer pastry square.

  8. Cover each bottom layer (now filled with cream cheese and guava paste) with the top layer pastry. Press together to ensure that they are well-sealed (you can also use a fork like I did to create a pattern around the edges and to seal them together more tightly). Make 3 small slits on the top to allow the pastry to puff up easily.

  9. Finish them off with brushing the beaten egg on top of each pastry.

  10. Place them on a baking sheet lined with parchment paper and allow them them to bake in the oven for 20-25 minutes, or until golden brown


These were the perfect treat for one the most horrendously-windy and cold weekends in San Francisco. I sat at home eating these and felt like I was on a beach in Miami :-) If you have some left over, make sure to pop them in the microwave for around 15 seconds before eating (and be careful of the hot guava filling!).

♥ Cindy

 
Food, 2Cindy ZhangComment