Black Sesame Cheesecake Macarons
Watch the video for a in-depth tutorial on how to make these macarons. If you enjoyed watching, please give me a thumbs up/subscribe to me on YouTube!
Probably one of the most intimidating desserts to ever grace my kitchen: French Macarons. They’re notorious for being sold at high prices at fancy patisserie shops. After trying them out in my own kitchen, I realized the ingredients that go into making them are actually not very expensive at all, and you could probably find most of them already sitting in your fridge or pantry (with the exception of almond flour, maybe). In my opinion, the real reason why they’re so expensive is because there’s so much that can go wrong when you’re making them. You truly have to be a perfectionist during every step of the process, and not rush to the finish line—as there is a lot of waiting involved.
In these past few months, I’ve made my fair share of macarons, and also experienced my fair share of failures. I will try to share everything I’ve learned in this post, so you won’t make the same mistakes I did.
wet ingredients + the perfect meringue
Separate your egg yolks from the egg whites using your clean hands. Using the shell to separate them could risk puncturing the yolk and leaving them behind in the whites. Your egg whites have to be absolutely pristine for macarons, and a little bit of yolk could ruin everything.
Make sure the bowl you are working in has no traces of oil or water. Egg whites will not whip properly in the presence of oil and water. You can use a paper towel doused in a bit of vinegar to wipe the bowl clean.
The size of your egg matters! When a recipe calls for “3 eggs,” there’s a lot of variation that can happen there. I try to weigh out my egg whites on a kitchen scale, or try to figure out whether I should use small, large, or x-large eggs in my recipe.
Do you need to age your egg whites? Not necessarily. But I found that it’s easier to whip your egg whites when they’ve been sitting for a day or two in the fridge. I usually don’t think far ahead enough to age them for that long, but I’ll try to separate the egg whites and leave them hanging out at room temperature in the morning if I know I’ll be making macarons in the afternoon.
Make sure your egg whites are whipped to stiff peaks (that is, the peaks aren’t drooping at all when you lift your whisk). Another way to test this out is to lift the bowl upside down: the meringue should be strong enough to stick to the bowl and not drip out.
Dry Ingredients
Make sure to use blanched almond flour over natural almond flour. I accidentally used unblanched almond flour once, and not only did the macarons turn out looking very ugly, but they also cracked on top.
Run your dry ingredients through a food processor if you have one to ensure that they’re superfine.
Sieve your dry ingredients 2-3 times to ensure that your macaron shells have a smooth top.
how to macaronage perfectly (Look for that figure 8!)
Macaronage is just a fancy word describing the process in which we fold the dry ingredients in with the meringue. But this is probably the trickiest stage in making macarons. Under-mixing or over-mixing the batter will completely ruin the macaron shell.
Fold in the dry ingredients a little at a time.
Use a rubber spatula (or something pliable) to fold in the dry ingredients. This way, you can scrape down all the excess ingredients on the sides of the bowl.
People say the desired texture of the batter should be “ribbon-like” or resemble lava. I actually find those two descriptions quite difficult to understand. Instead, opt for the Figure 8 test instead: you should be able to make a Figure 8 by drizzling the batter with your spatula without it breaking. Once you’re at this stage, stop mixing and start piping.
Piping the macaron shells
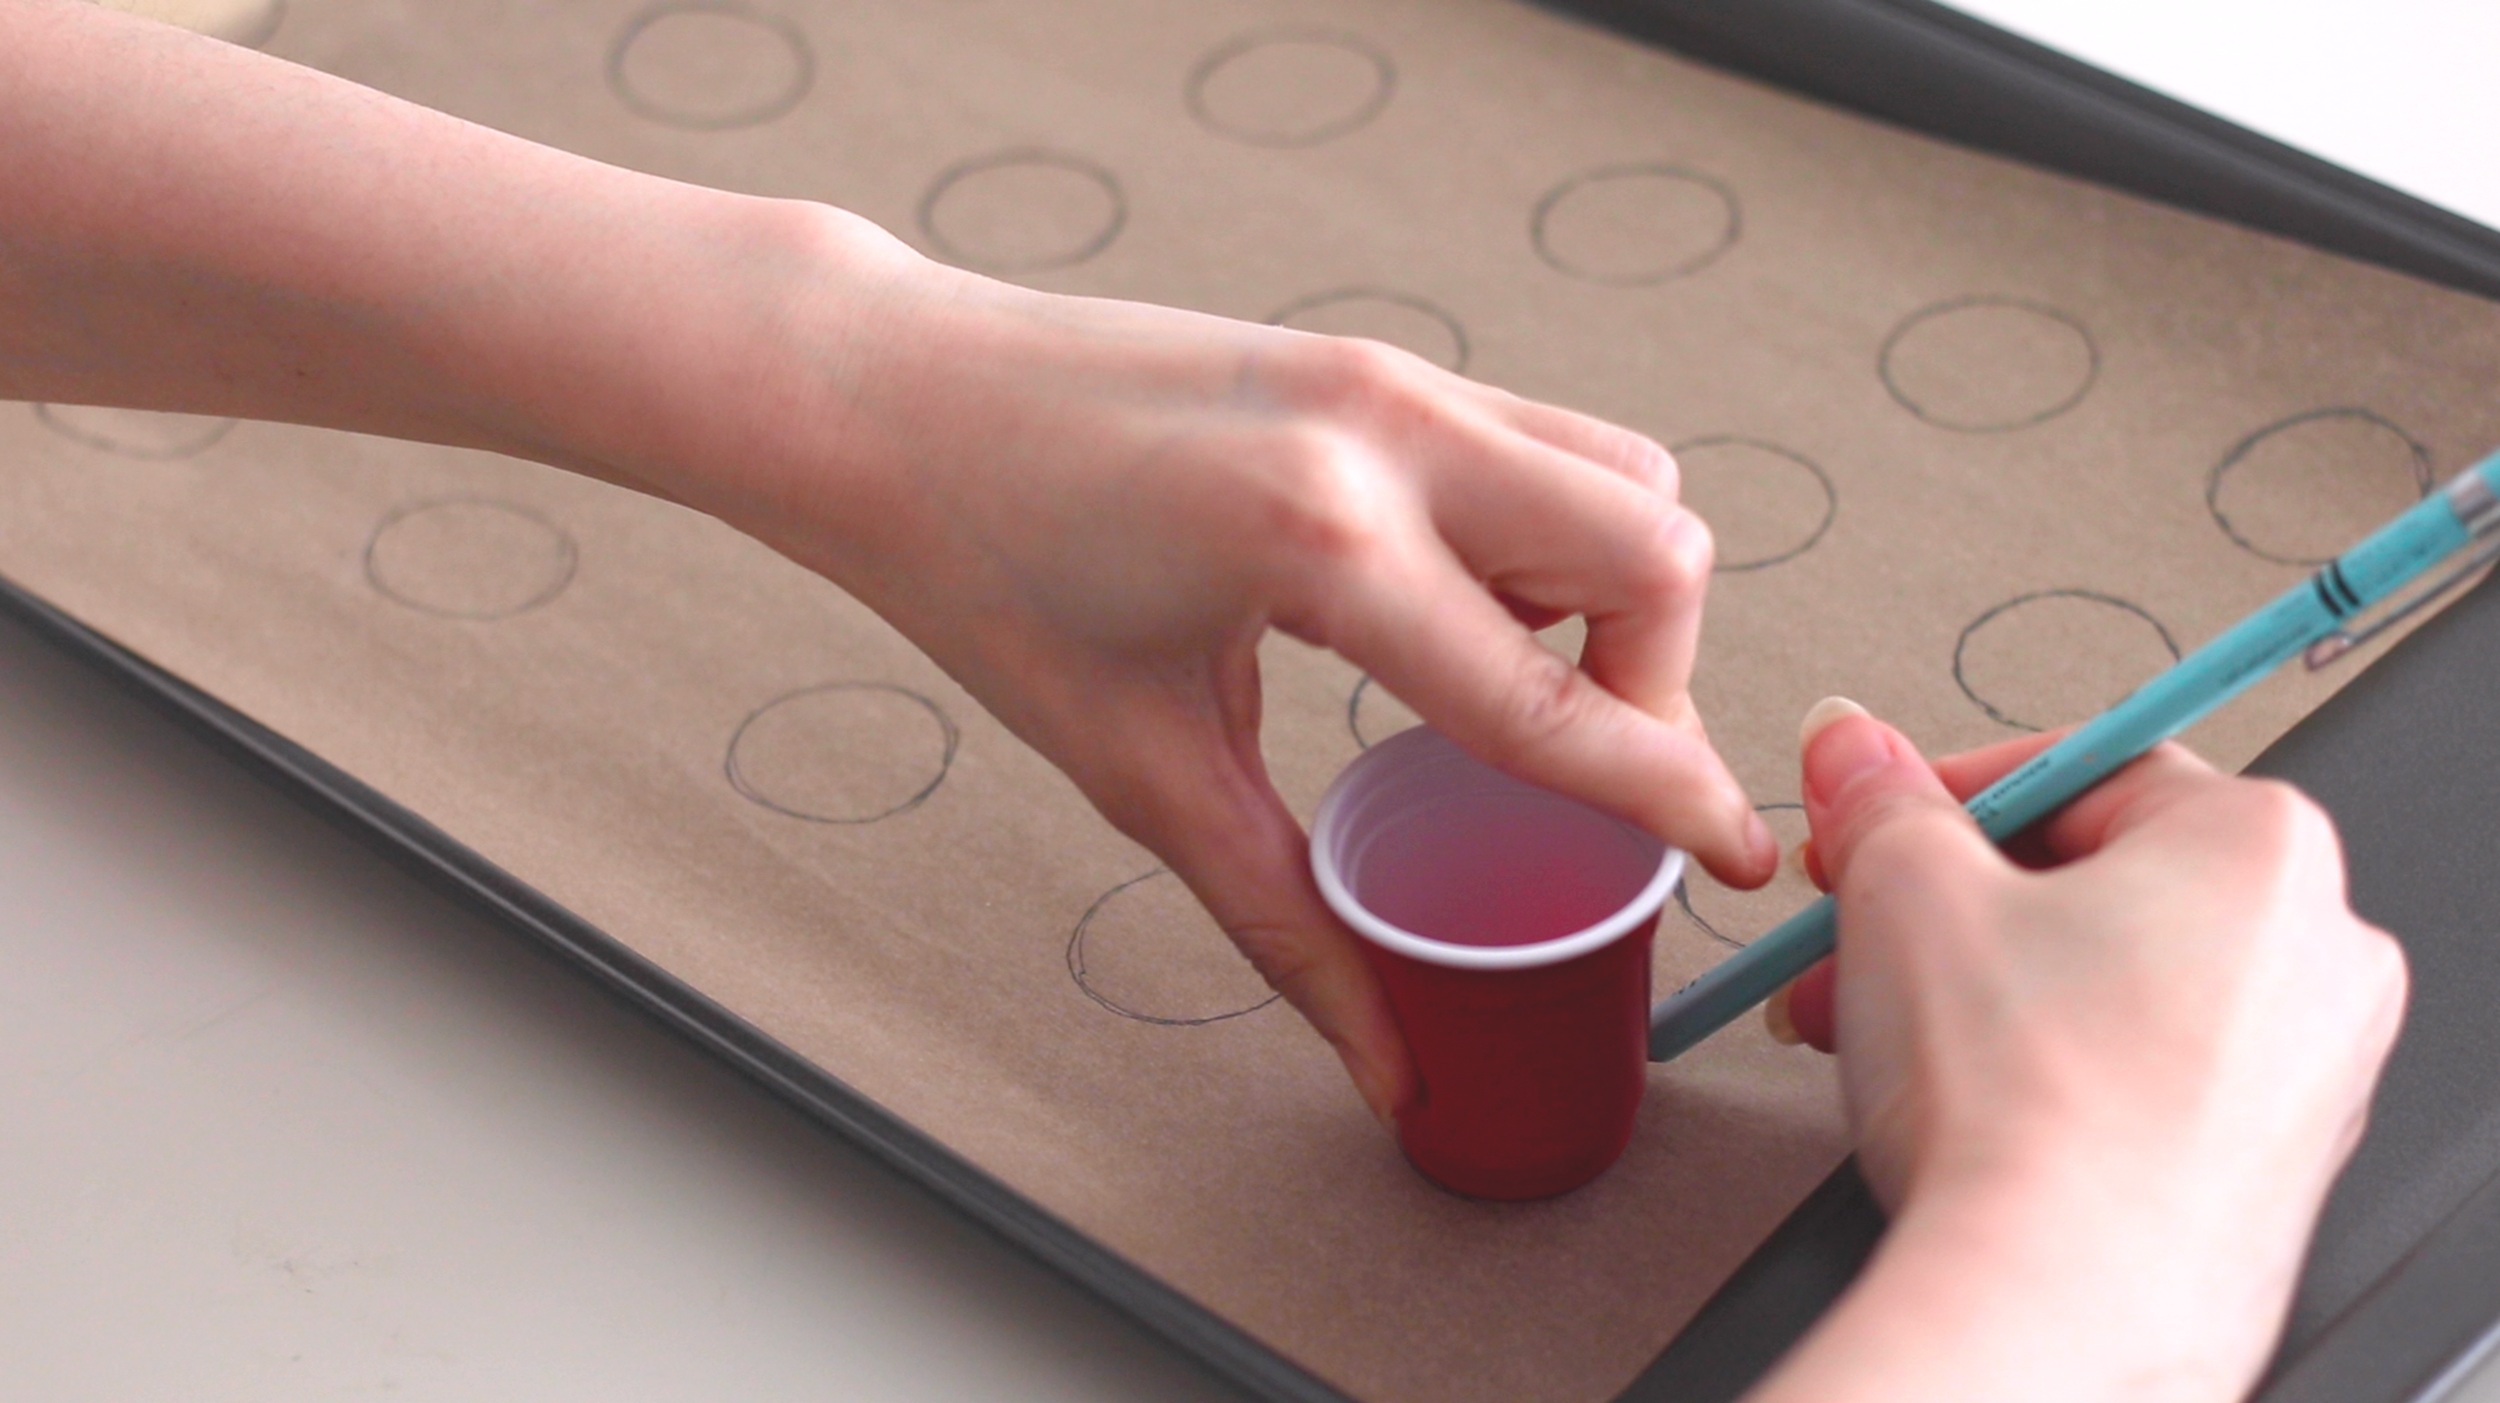
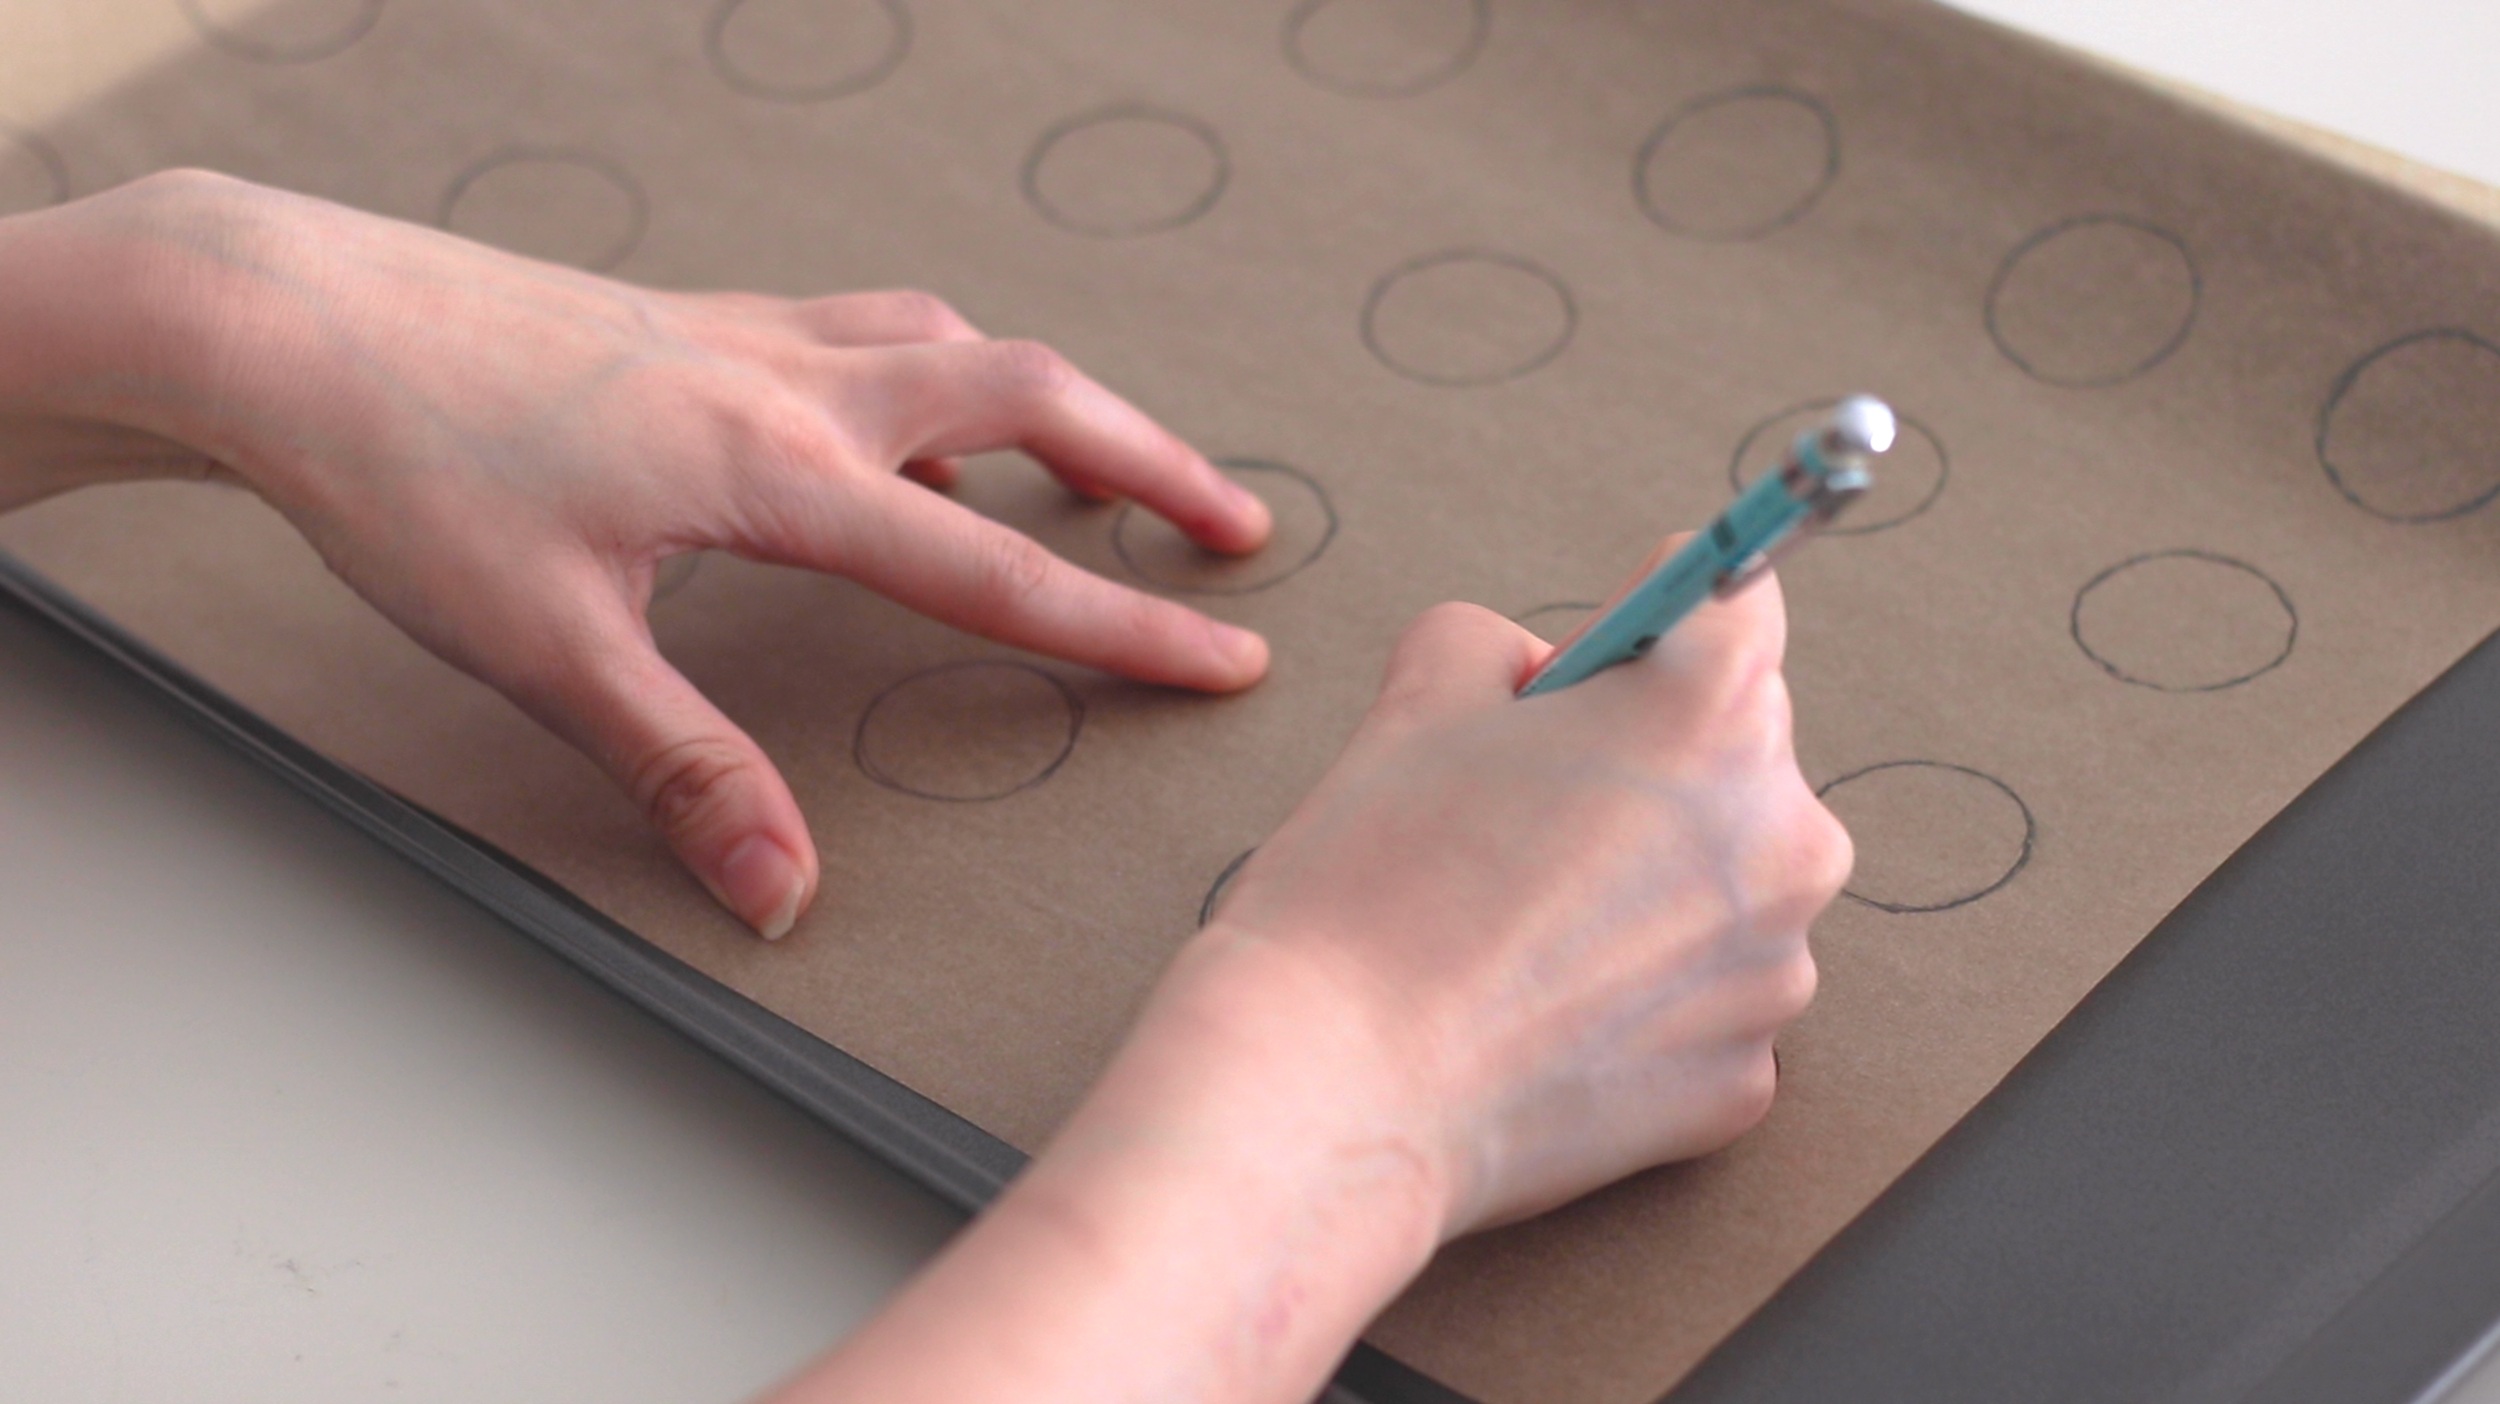
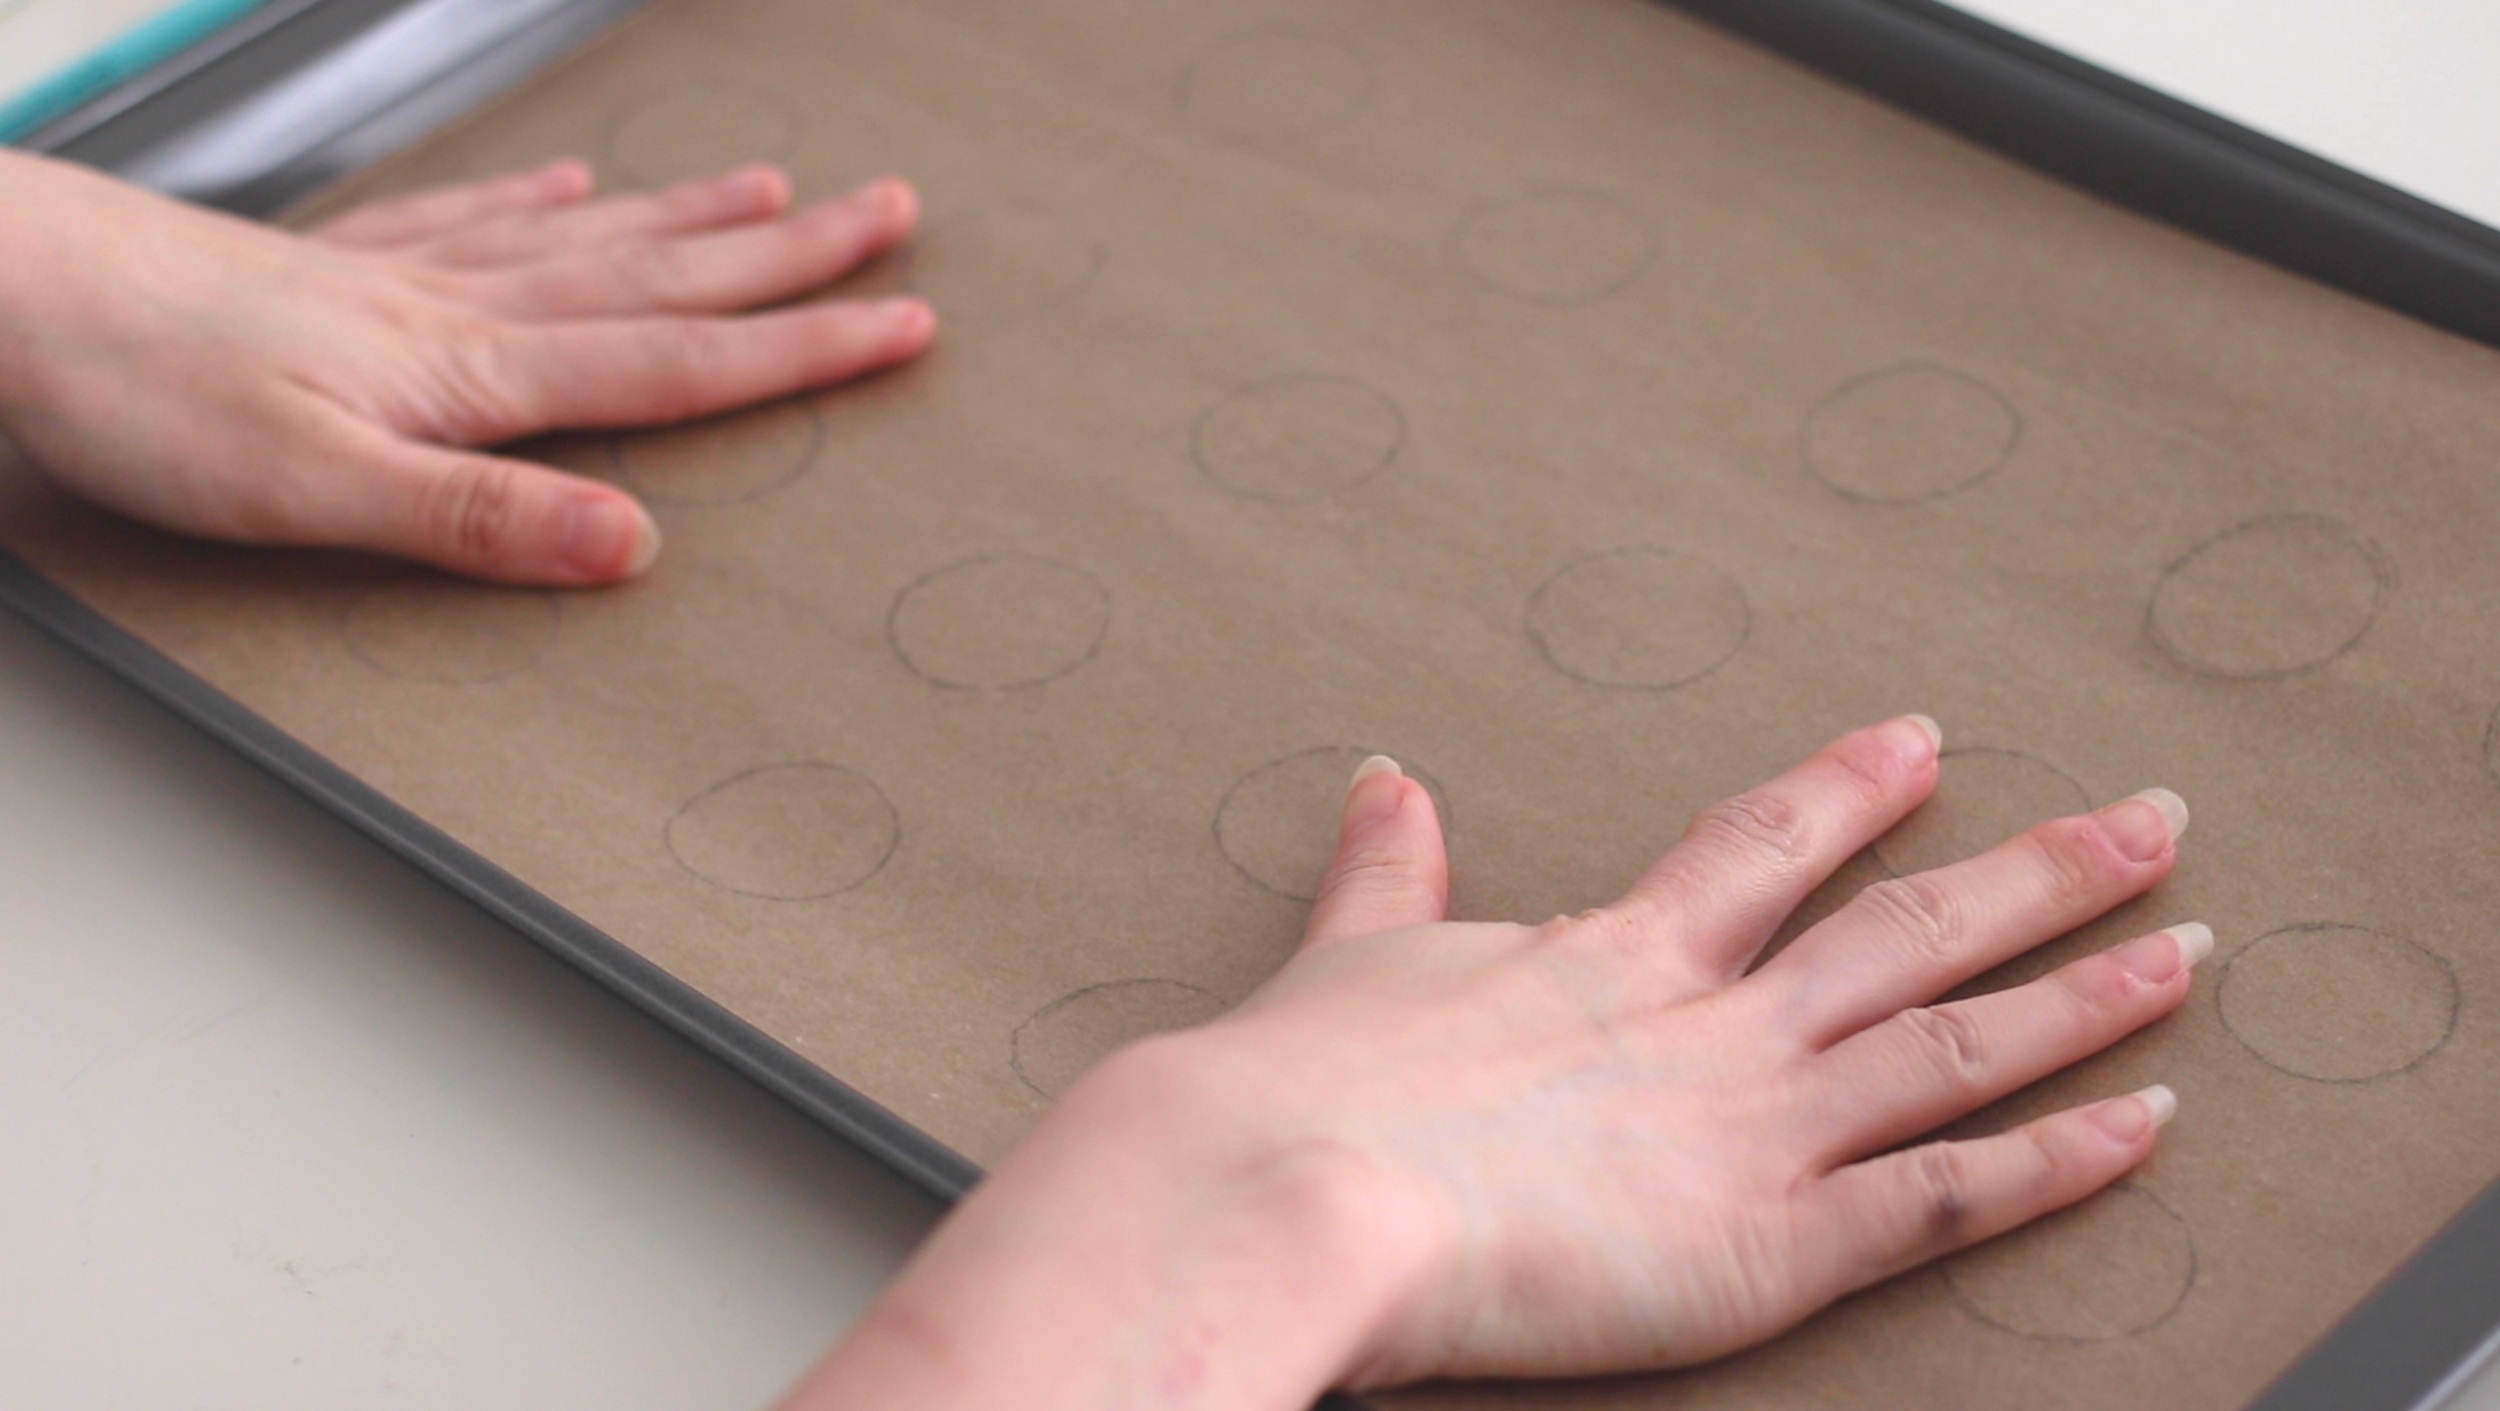
There are a lot of macaron baking mats out on the market, but parchment paper is actually the best surface to bake on, since they will dry the shells out the most. You can make your own by drawing circles on a sheet of parchment paper (I used a shot glass 🤦🏻♀️) and then flipping over the parchment paper so the macaron shells can be piped onto the other side.
Try to pipe the macarons to be a little smaller than your desired size. You will need to tap them on the table later to get rid of air bubbles, which will make them grow outward.
Pipe with confidence! Especially at the end of each one. Lift your pastry bag quickly so you don’t leave any batter hanging.
After piping, make sure tap your pan against the table to get rid of all of the air bubbles in the batter. If you want to go the extra mile, you can even take a toothpick and pop out each individual air bubble yourself so your cookies have the smoothest surface possible.
Baking your Macarons (and waiting to bake them)
It’s imperative that you let your macarons rest before baking them. I usually wait around 40 minutes to an hour. During that time, you can start working on your filling, or even take care of some dirty dishes :) After resting, the batter will have developed a clear film on top, and you’ll be able to brush your finger across the surface without any of the batter coming off.
Too high of an oven temperature may fade the food coloring and make it more yellow—for example a pink macaron could end up looking more peach-colored. Most recipes call for 300°F, but I’ve found that 290°F has worked better in preserving the color.
After taking them out of the oven, be sure to let them rest before taking them off the parchment paper. They should be completely cooled down when you start piping any sort of filling on top of them.
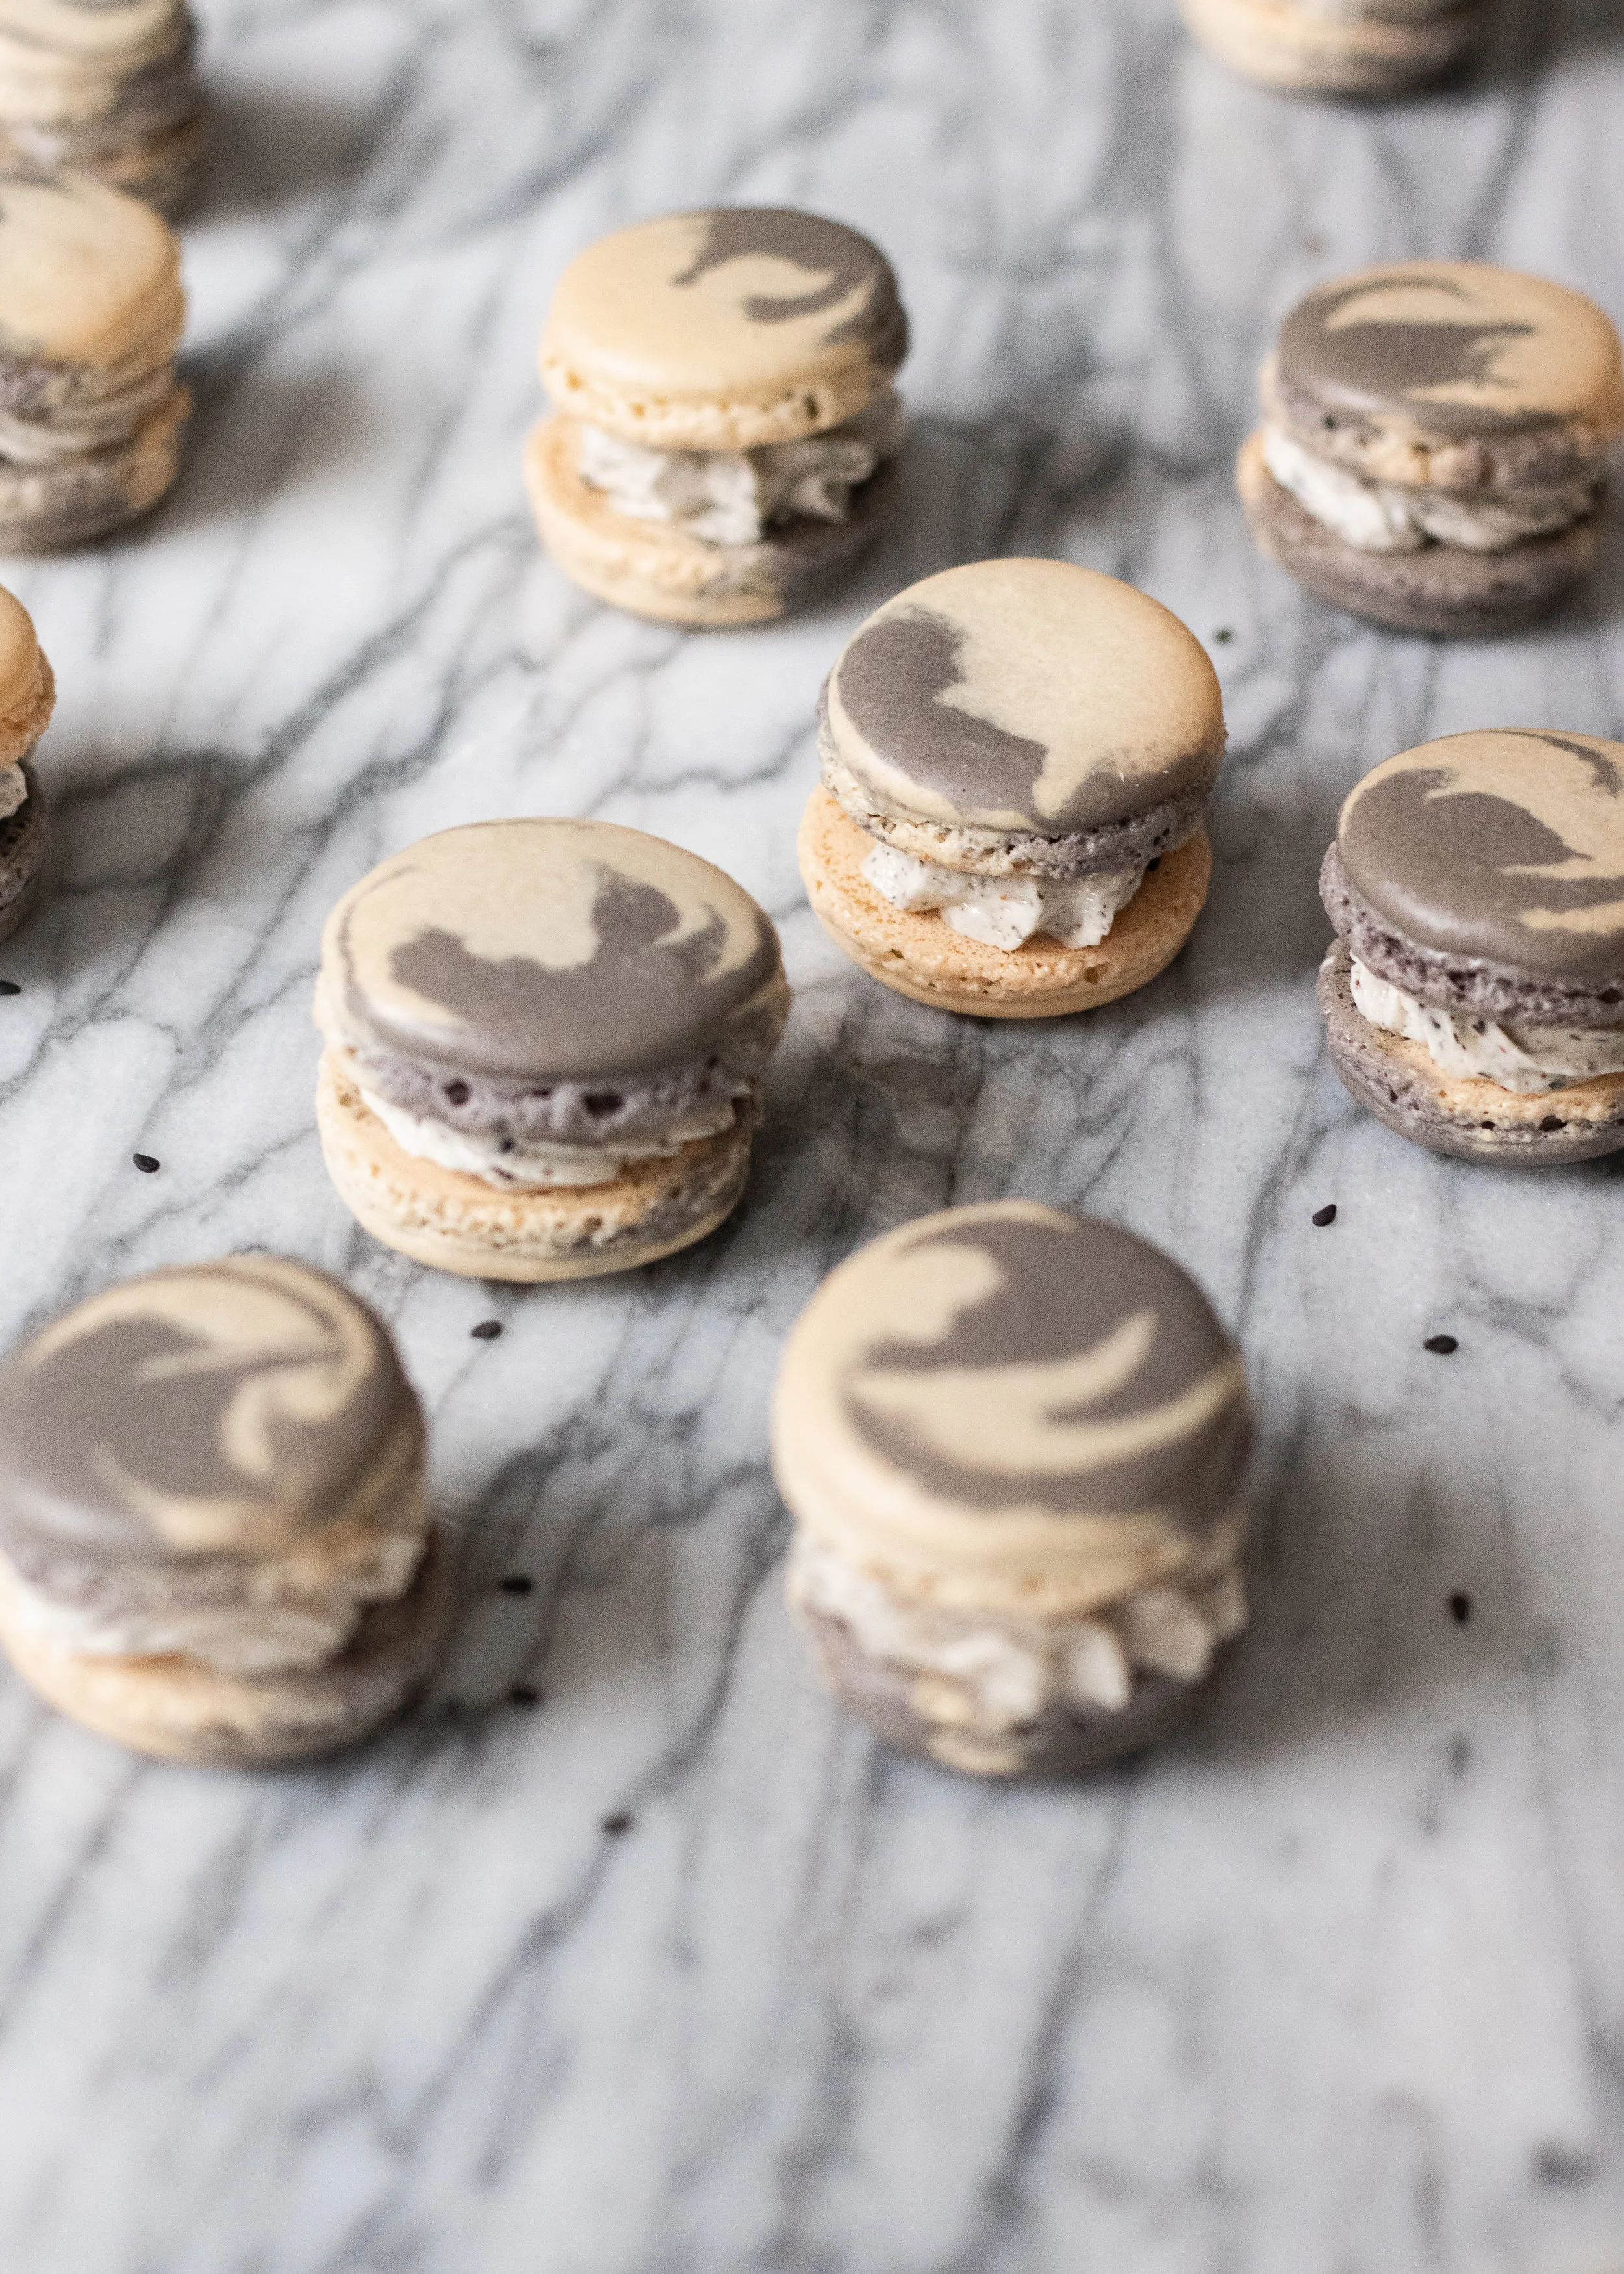
Though the macaron shell/cookie can be one of the trickiest things in the kitchen to get right, the filling for macarons is quite the opposite. You can literally go in any direction with the filling: American, Swiss, or French buttercream, chocolate ganache, cream cheese frosting, lemon curd, or even something more Asian inspired: like this black sesame “cheesecake” filling.
(calling it cheesecake mostly just due to my addition of cream cheese into the buttercream 🙃)
Black Sesame Cheesecake Macarons
Ingredients (Makes 18 Macarons/36 individual cookies)
-
The cookie:
- 100 g Egg Whites - around 3 large egg whites (at room temperature)
- ¼ cup white sugar (50 g)
- 2 cups powdered sugar (200 g)
- 1 cup blanched almond flour (120 g)
- pinch of salt
- ¼ tsp cream of tartar (2 ml)
- 2-3 drops of black gel food coloring
-
Black sesame cream cheese buttercream:
- 1/3 cup black sesame seeds, toasted (30 g)
- 1 cup powdered sugar (100 g)
- 1 cup butter (227 g or 2 sticks)
- 2 oz cream cheese (57 g)
- 1 tbsp heavy cream
- 1 tsp vanilla extract
Takes , Makes 18 filled macarons, or 36 individual cookies.
Instructions
- Separate the egg whites from the yolks ahead of time and leave them at room temperature for at least 30 minutes (it’s even better if you age them for a few days).
- Sieve the dry ingredients (powdered sugar and almond flour) 2-3 times and discard the bigger pieces that won’t pass through the sieve.
- Whisk the egg whites with the salt and cream of tartar in a clean bowl that is free of oil or water. Add the granulated sugar gradually in batches. Whisk until your meringue acquires stiff peaks, and sticks to the bowl when you lift it upside-down.
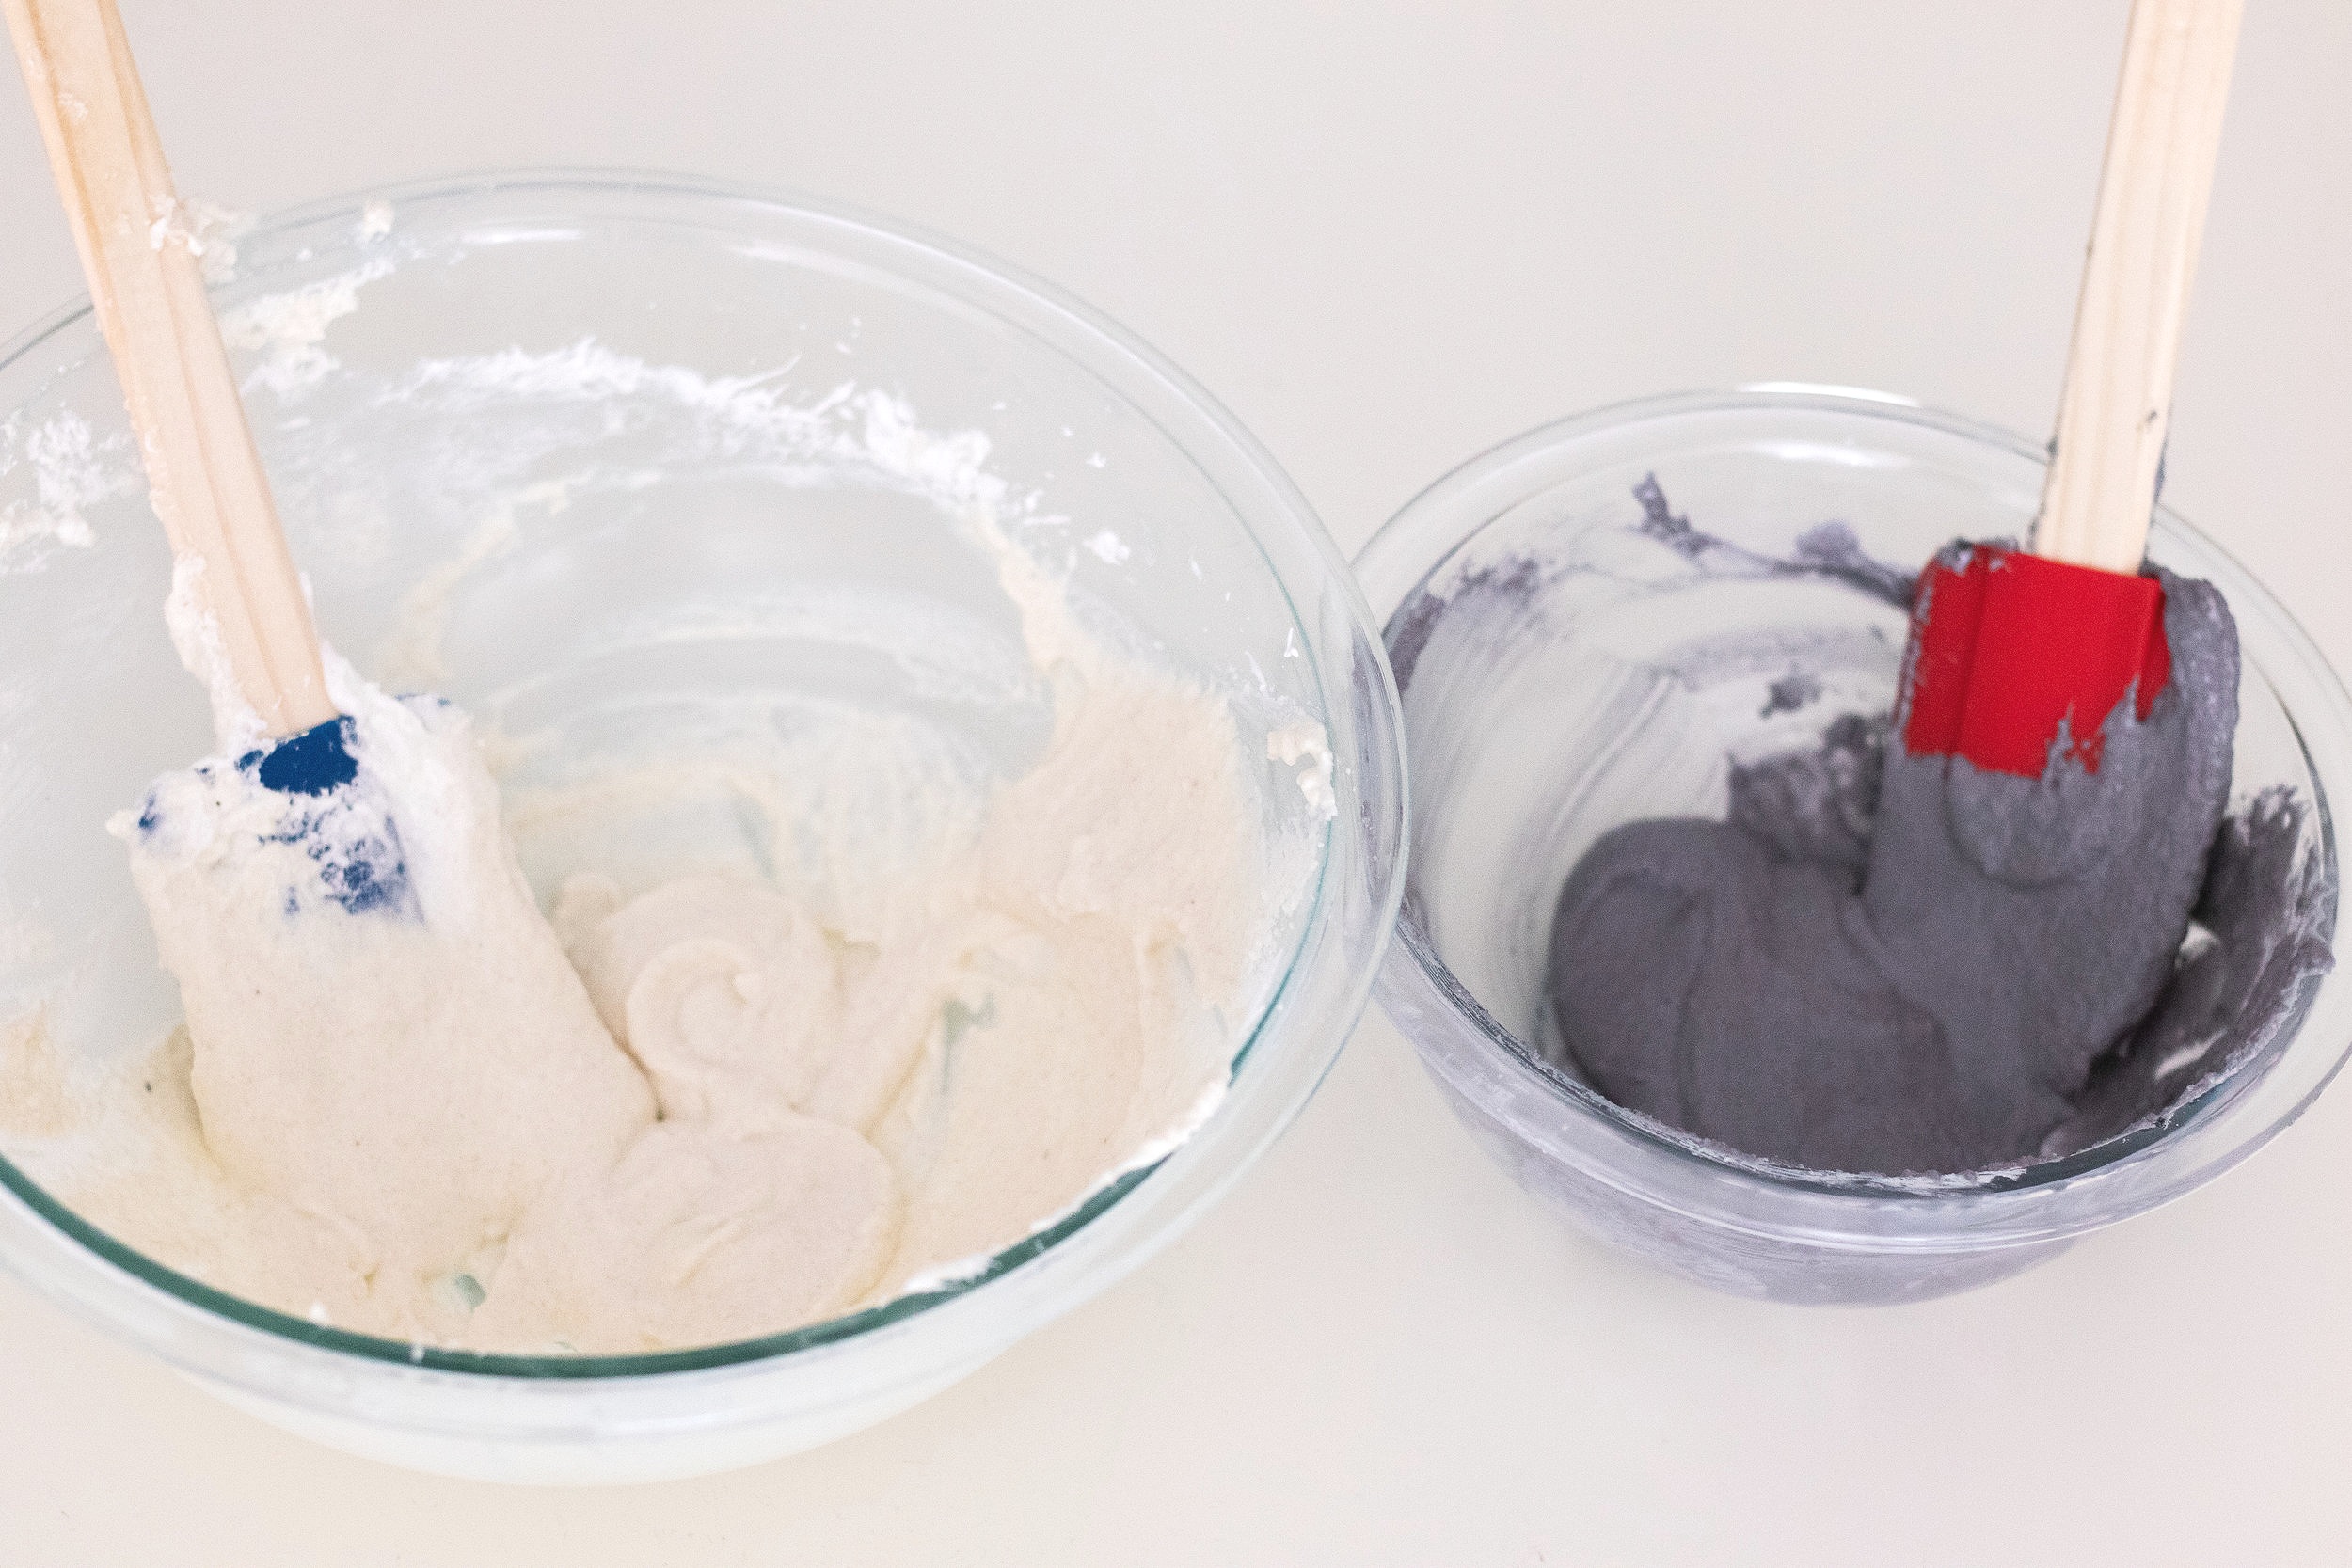
- Add the dry ingredients into the meringue in batches, and fold them in gently. Once the mixture looks combined,and resembles a lava-like texture, transfer half of the mixture to another bowl, and add 2-3 drops of black gel food coloring. Continue to fold both the black and white batter.
- You’ll know when you’re done when you’re able to make a Figure 8 by drizzling the batter with your spatula without it breaking. Once you’re at this stage with both the black and white batter, stop mixing and start piping.
- Put the black and white batters into separate piping bags. Push the batter all the way to the tip of the bag.
- Fit another piping bag with a round tip, and insert the two closed piping bags with the black and white batter into it, pulling the ends of the two bags through the round tip. Cut open the ends of the two pastry bags and you’re ready for piping.
- Use the leftover batter to cover the four corners of the baking pan, then put a piece of parchment paper on top of the pan. This will prevent the parchment paper from sliding around when you’re piping.
- Pipe 3/4 inch circles on the parchment paper, leaving space between each cookie. Try to do this in a circular motion to create a “marbling” effect.
- Tap the pan against the table to get rid of air bubbles.
- Preheat the oven to 290°F / 140° C and let the macarons rest for 40 minutes to 1 hour before baking.
- Bake for 20 minutes. After baking, let them rest for 15 - 30 minutes before lifting them from the parchment paper and make sure they’re completely cool before piping on the filling.
- Meanwhile, make the black sesame cream cheese buttercream: start off by toasting the sesame seeds in a small pan for 3-4 minutes until fragrant. Let them cool down, and put them into a ziplock bag and use a rolling pin to grind them to a powdery texture. If you have a food processor or an herb grinder, you can use that instead.
- Cream the room temperature butter, cream cheese, black sesame powder, heavy cream, and vanilla extra together with an electric mixer.
- Put the filling into a pastry bag and pipe them onto the cooled macaron shells. Cover the top with another shell and sandwich the cookie together. And you’re done!
- Please keep them refrigerated if you’re not going to eat them right away.
This is definitely one of the trickiest recipes on this blog, and it took a lot of batches of ruined macarons before I could finally make this post. I hope you found the tips above helpful, and that you’re confident to go try these out yourselves!
Let me know how it turns out for you by tagging @cinders_zhang on Instagram! Support me by saving this recipe on Pinterest, and subscribing to my Youtube channel :)
If you’re feeling a little inspired by France now, go check out this related blog post for a Paris bucket list 🇫🇷
♥ Cindy
