Editing Photos on your iPhone — Part 1: Basic color correction

Backstory for this “Editing Photos on your iPhone” series:
People often ask me what camera I use to take the photos for this blog. And most of the time, they’re surprised to find out that many of the photos were taken and edited on my iPhone. The iPhone camera is no joke, especially with features like Portrait mode. It’s also super convenient for taking photos while traveling or cooking (the idea of having an expensive DSLR by your stove kinda turns me off). You can also find some amazing apps on the app store that will work just as well as Photoshop and prevent you from airdropping photos back and forth between your phone and your computer.
Part 1 TL;DR:
“I went to a beautiful place on a gloomy day. All my photos look depressing af.”
The unedited photo:

Ah yes, we chose to go to one of the most beautiful destinations in Australia on a gloomy day and as a result, snapped some depressing-looking photos. But let’s not delete it yet. We can do a lot of post-processing of this photo (all on our phones!) to make it look gorgeous.
First, let’s identify what’s wrong with the photo:
It’s dark and depressing. Lots of shadows
Waters are greenish. That’s kinda weird… and kinda gross.
Left side of photo is really bright from the sun while the right side is super dark


First of all, let’s do our most basic editing to ensure the photo’s lighting is corrected before we start doing more of the creative stuff. I like to start off with the Adobe Lightroom CC app to do these initial edits. I can save this edited photo as a “baseline” to start with. Then, I can go into more creative apps like VSCO to do some extras at the end.
Exposure (+0.78)—making the image brighter overall
Contrast (+4)—making the image more vibrant, and colors pop out more


A lot of the “depressing-ness” of this photo also comes from the fact that there is a huge amount of shadow on the rocks, making you barely able to see their details. We can solve that by doing the following:
Shadows (+15)—Increasing this field will make the shadows less prominent, while decreasing it will make them heavier
We can also amp up the colors to make the photo look more exciting and less depressing. YAY COLOR.
Vibrance (+26)
Saturation (+25)


K, cool. So now our photos is bright and colorful and less depressing. But did it get a little too bright in the process? Maybe. It looks like the sky got a little overexposed on the left side of the image.
We can solve this by using the handy-dandy selective edits tool that Lightroom offers as one of its paid features (around a dollar per month). This step is totally unnecessary. But if you’re a little OCD like me, here are the steps you should take to get rid of that brighter area:
In Selective Edits, use the circle tool to select the area you want to edit. You can also adjust the location and size of your circle. Everything in this circle will be adjusted to your liking without affecting the rest of the photo
Bring down the exposure in the “light” panel.
Note that this trick isn’t just for exposure edits. You can take advantage of this selective editing tool to give more color to parts of images that need it (this especially works well for food photos).
Edits after using the Lightroom app:

Pretty nice eh? The photo’s still not perfect, but it’s definitely a lot better than the original! People will start questioning you at this point: what camera did you use to take this?
One negative thing that stands out about this photo is how green the waters look. Not the most appealing, right? Let’s fix that by opening this photo up in our second app: VSCO.


To make the greens in the water less prominent, and to make the oceans look more blue, go to the “HSL” tab at the very right side of the edits carousel. Note that this feature is also for members only. But I find a lot of VSCO’s member-only features super helpful, especially if you don’t want to import this photo into photoshop on your computer. Plus, you get to edit videos on VSCO too. And a bunch of film filters.
More about the HSL tool from VSCO: “It gives you control to adjust the Hue, Saturation and Lightness of a specific color in the image. It gives you fine-tuned control over 6 hue regions— red, orange, yellow, green, blue, and purple. By selecting one color at a time, you can isolate adjustments for that particular color without affecting other color present in the image.”
In my case, I wanted less green and more blue.
So, in the greens tab:
Saturation (-3.3)—makes the color green less saturated overall
In the blues tab:
Saturation (+2.1)—makes the blues more saturated
Hue (+2.1)—makes the blues have more of a magenta hue rather than a green hue


After you’ve done most of your basic edits to the photo, you can get into the fun part: choosing a filter! I absolutely love the wide range of filters that VSCO provides, and the emotions that they convey. But sometimes, a filter may be a little too vibrant, and you may need to dial it down, just allowing it affect your photo by a teeny-tiny bit. Remember, you don’t want to let your photo speak for the filter, you want your filter to speak for the photo.
Decided on the filter, L6.
Dialed it down to only +2.2, because it was a little too blue and orange in its full capacity.
Dialed down the hue and saturation for blues in HSL, because the filter was making the photo look too blue.
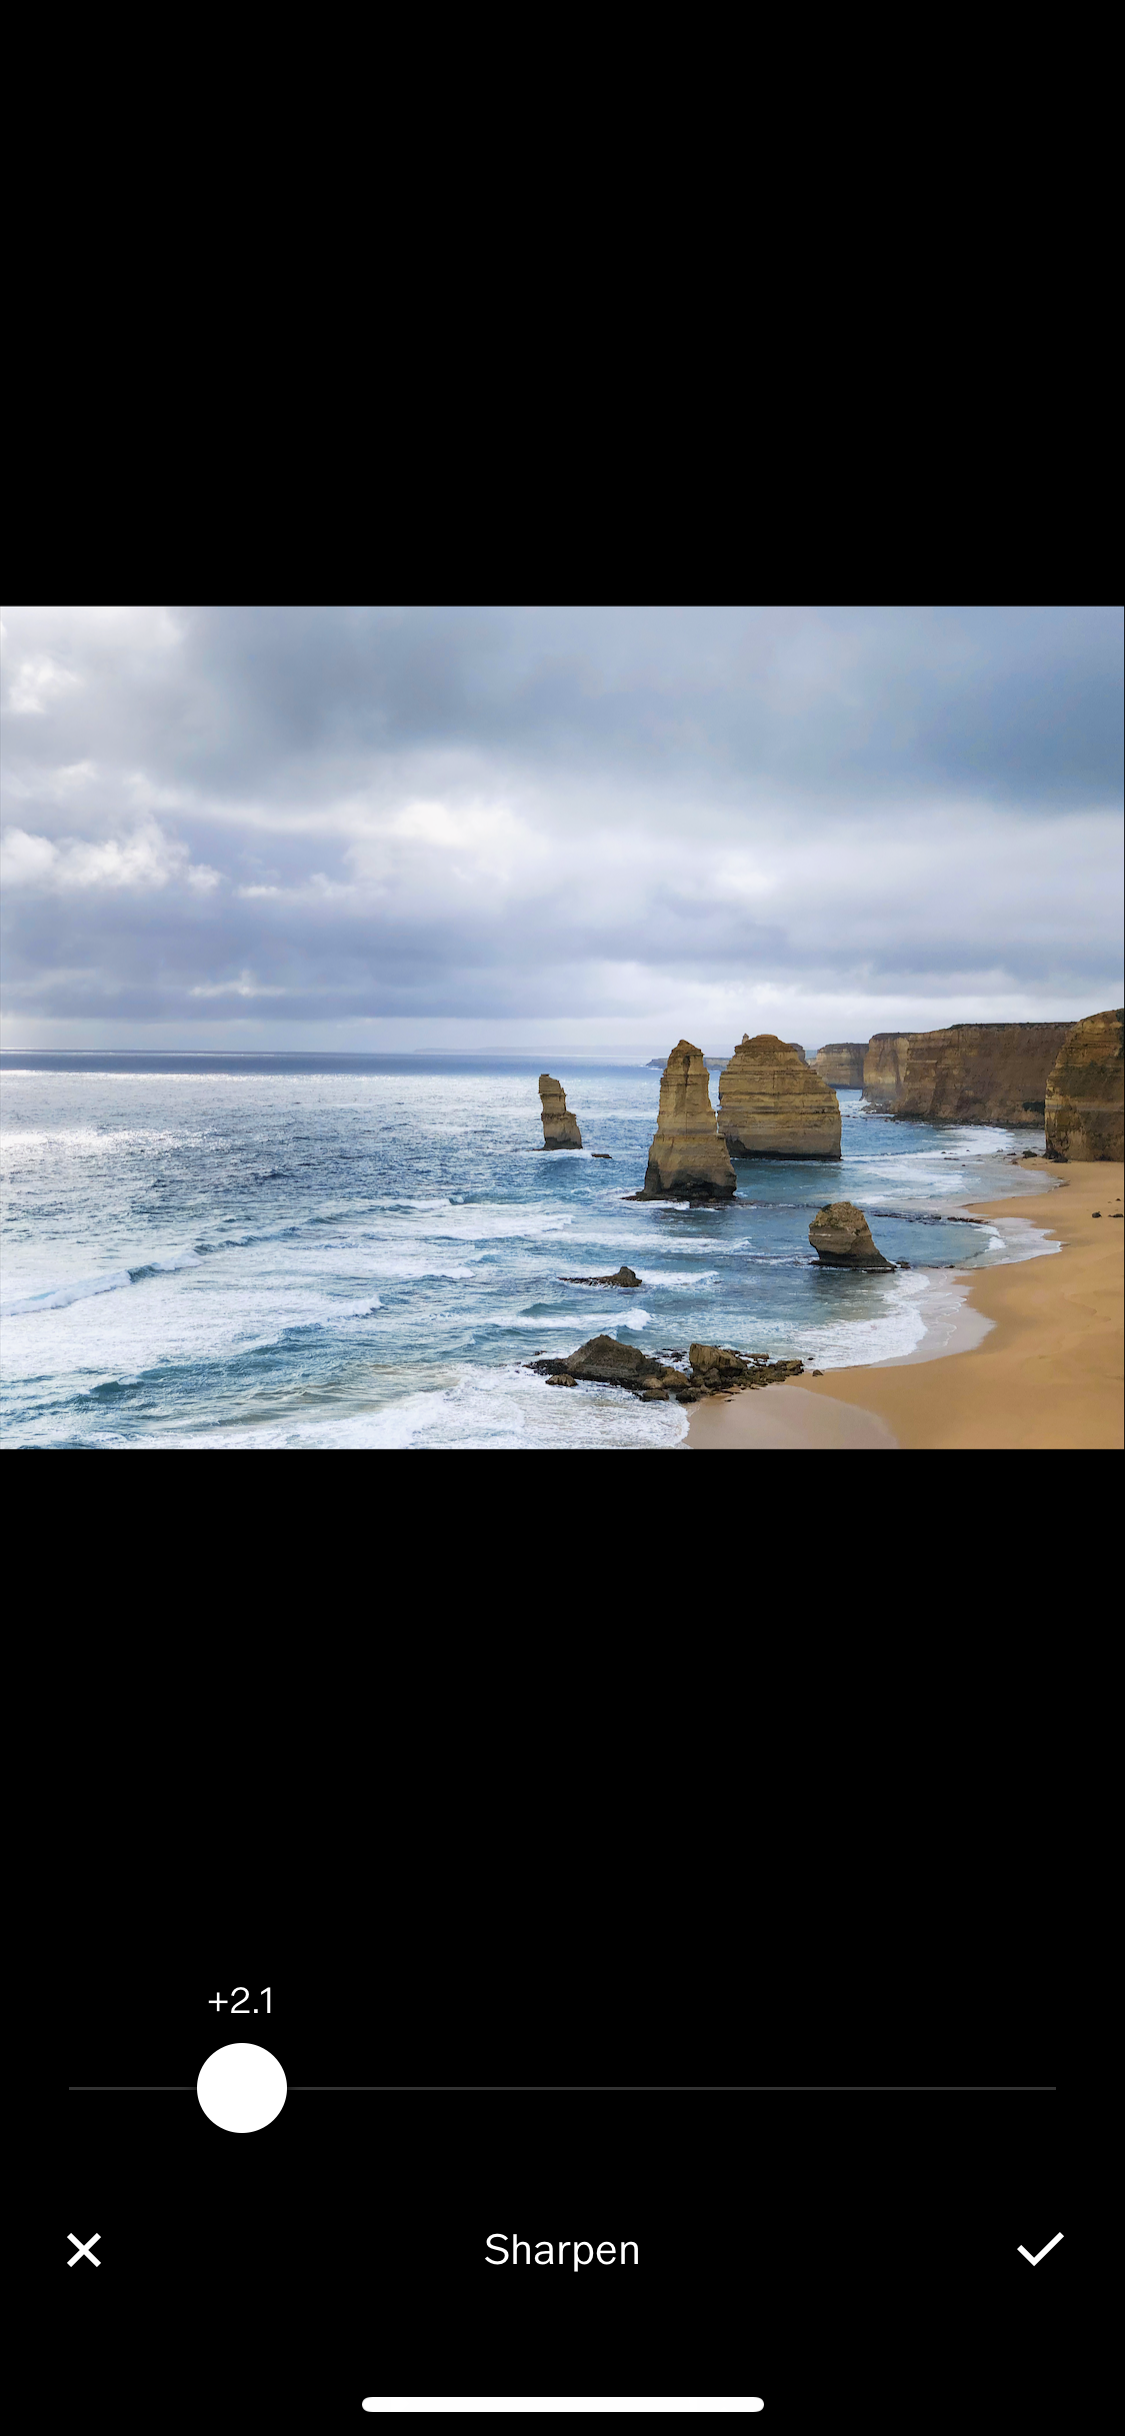

Last but not least, let’s sharpen our photo a little and bring up the saturation just a tiny bit. Don’t go overboard with the sharpening though—it will end up making your photo look hand-drawn rather than like a real photo.
Final photo with Lightroom app + VSCO edits
What do you think? Here’s the original photo and the edited one side by side:


Thought this was helpful? Go on to part 2 to learn more about how you can make unwanted stuff magically disappear in your photos!
♥ Cindy